Photography tips · September 2026
Best Shutter Speeds for Birds in Flight
A practical guide to choosing the right shutter speed for sharp bird-in-flight photographs and creative panning shots.
Birds in flight are among the most rewarding and difficult wildlife subjects to photograph. Their speed can change in a moment, wing movement varies enormously between species, and you often have only a second or two to get the shot. The right shutter speed gives you the best chance of capturing a sharp eye, clear feather detail and the wing position you want.
There is no single setting that works for every bird, but these are the shutter speeds I return to most often. Use them as starting points, then adjust for the bird, its direction of travel and the light available.
My bird-in-flight shutter speed guide
1/2000 sec: larger and slower birds
I use 1/2000 sec for slower birds such as herons and gulls, particularly when their wings are not moving too quickly. It is fast enough to freeze a lot of movement while letting in more light than the higher settings below.
If a large bird is gliding smoothly across the frame, you may be able to go slower. If it suddenly takes off or starts beating its wings rapidly, be ready to increase the shutter speed.
1/3200 sec: my go-to setting
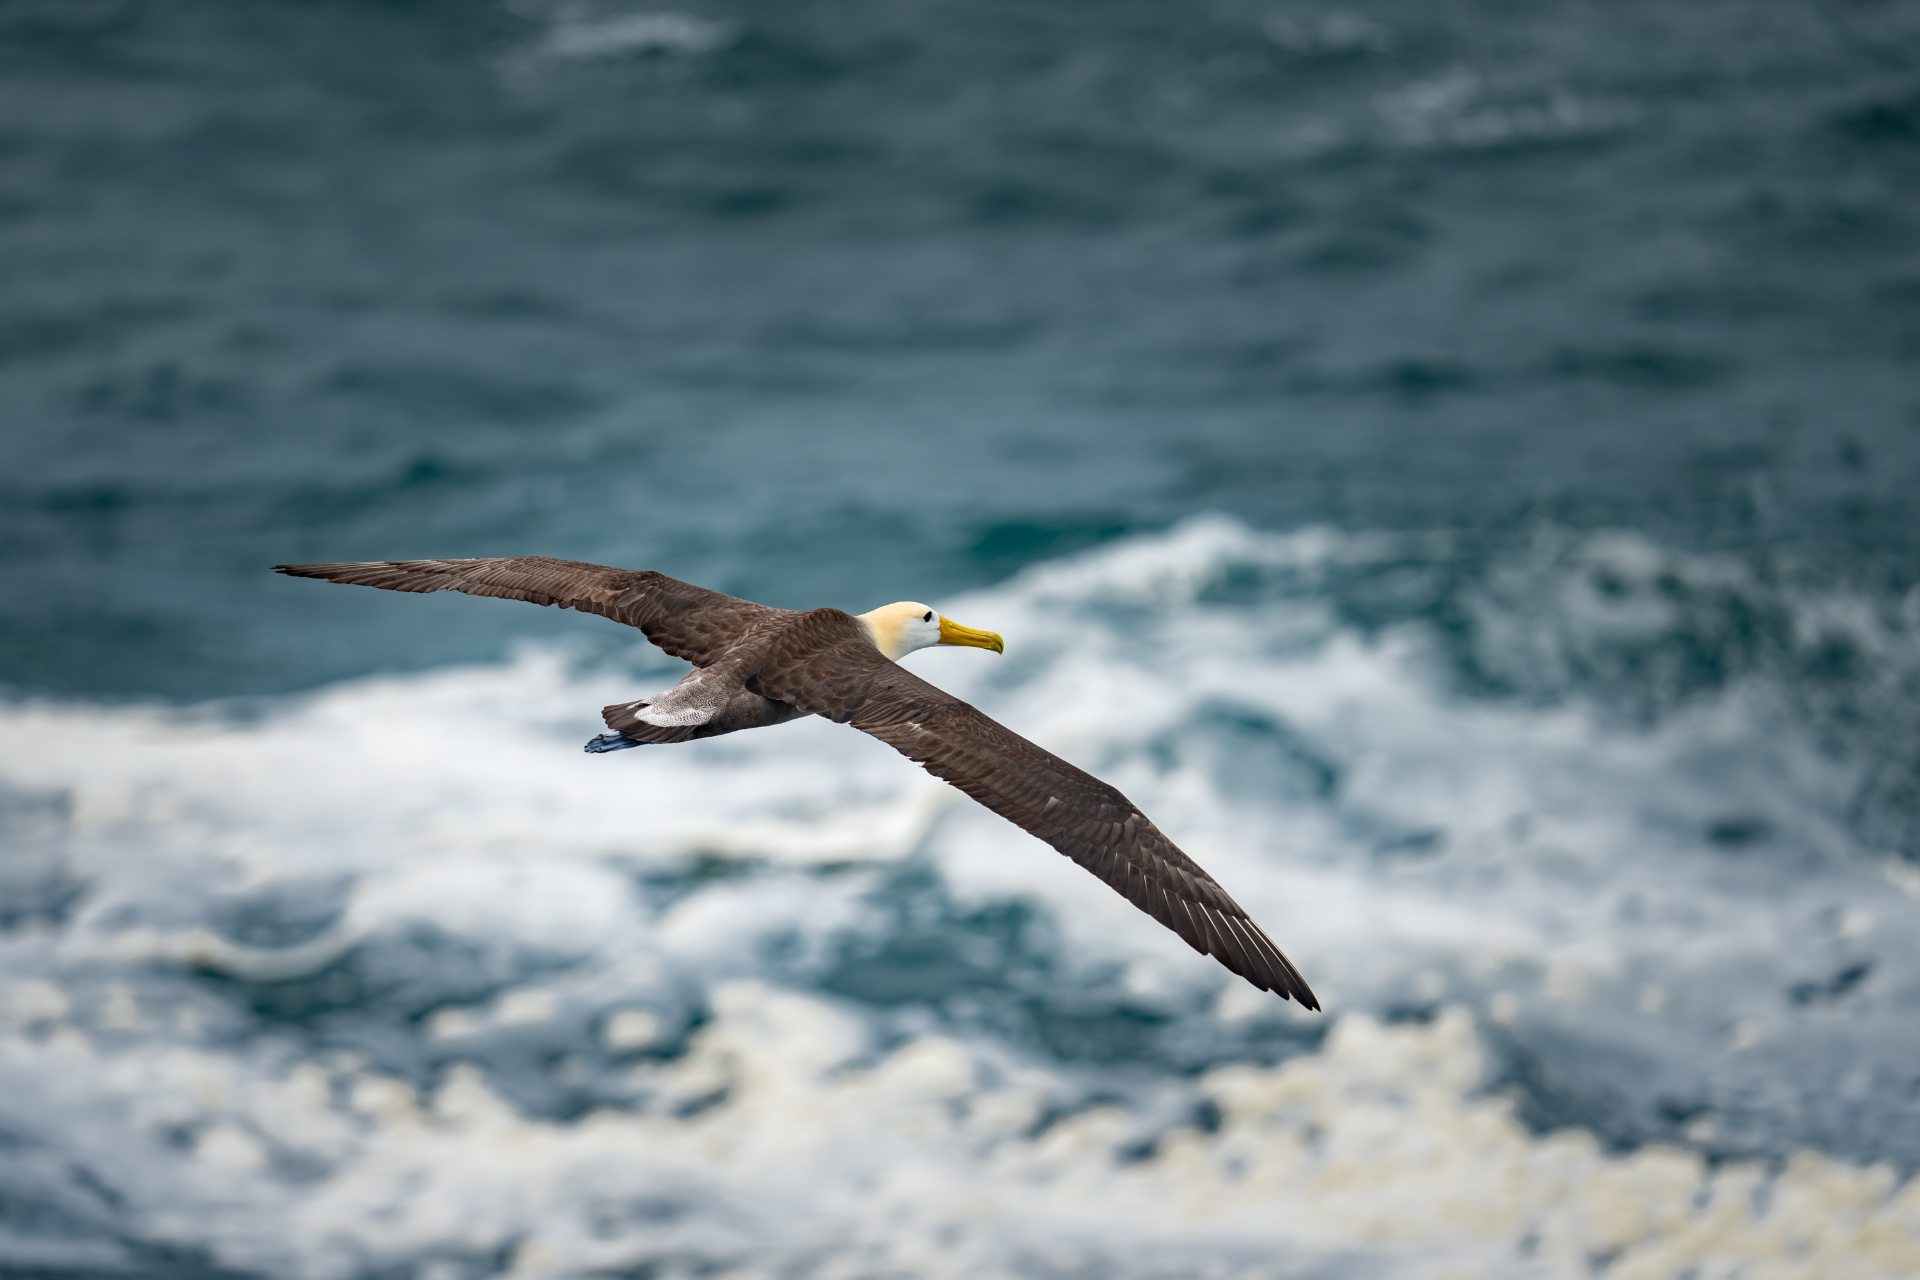
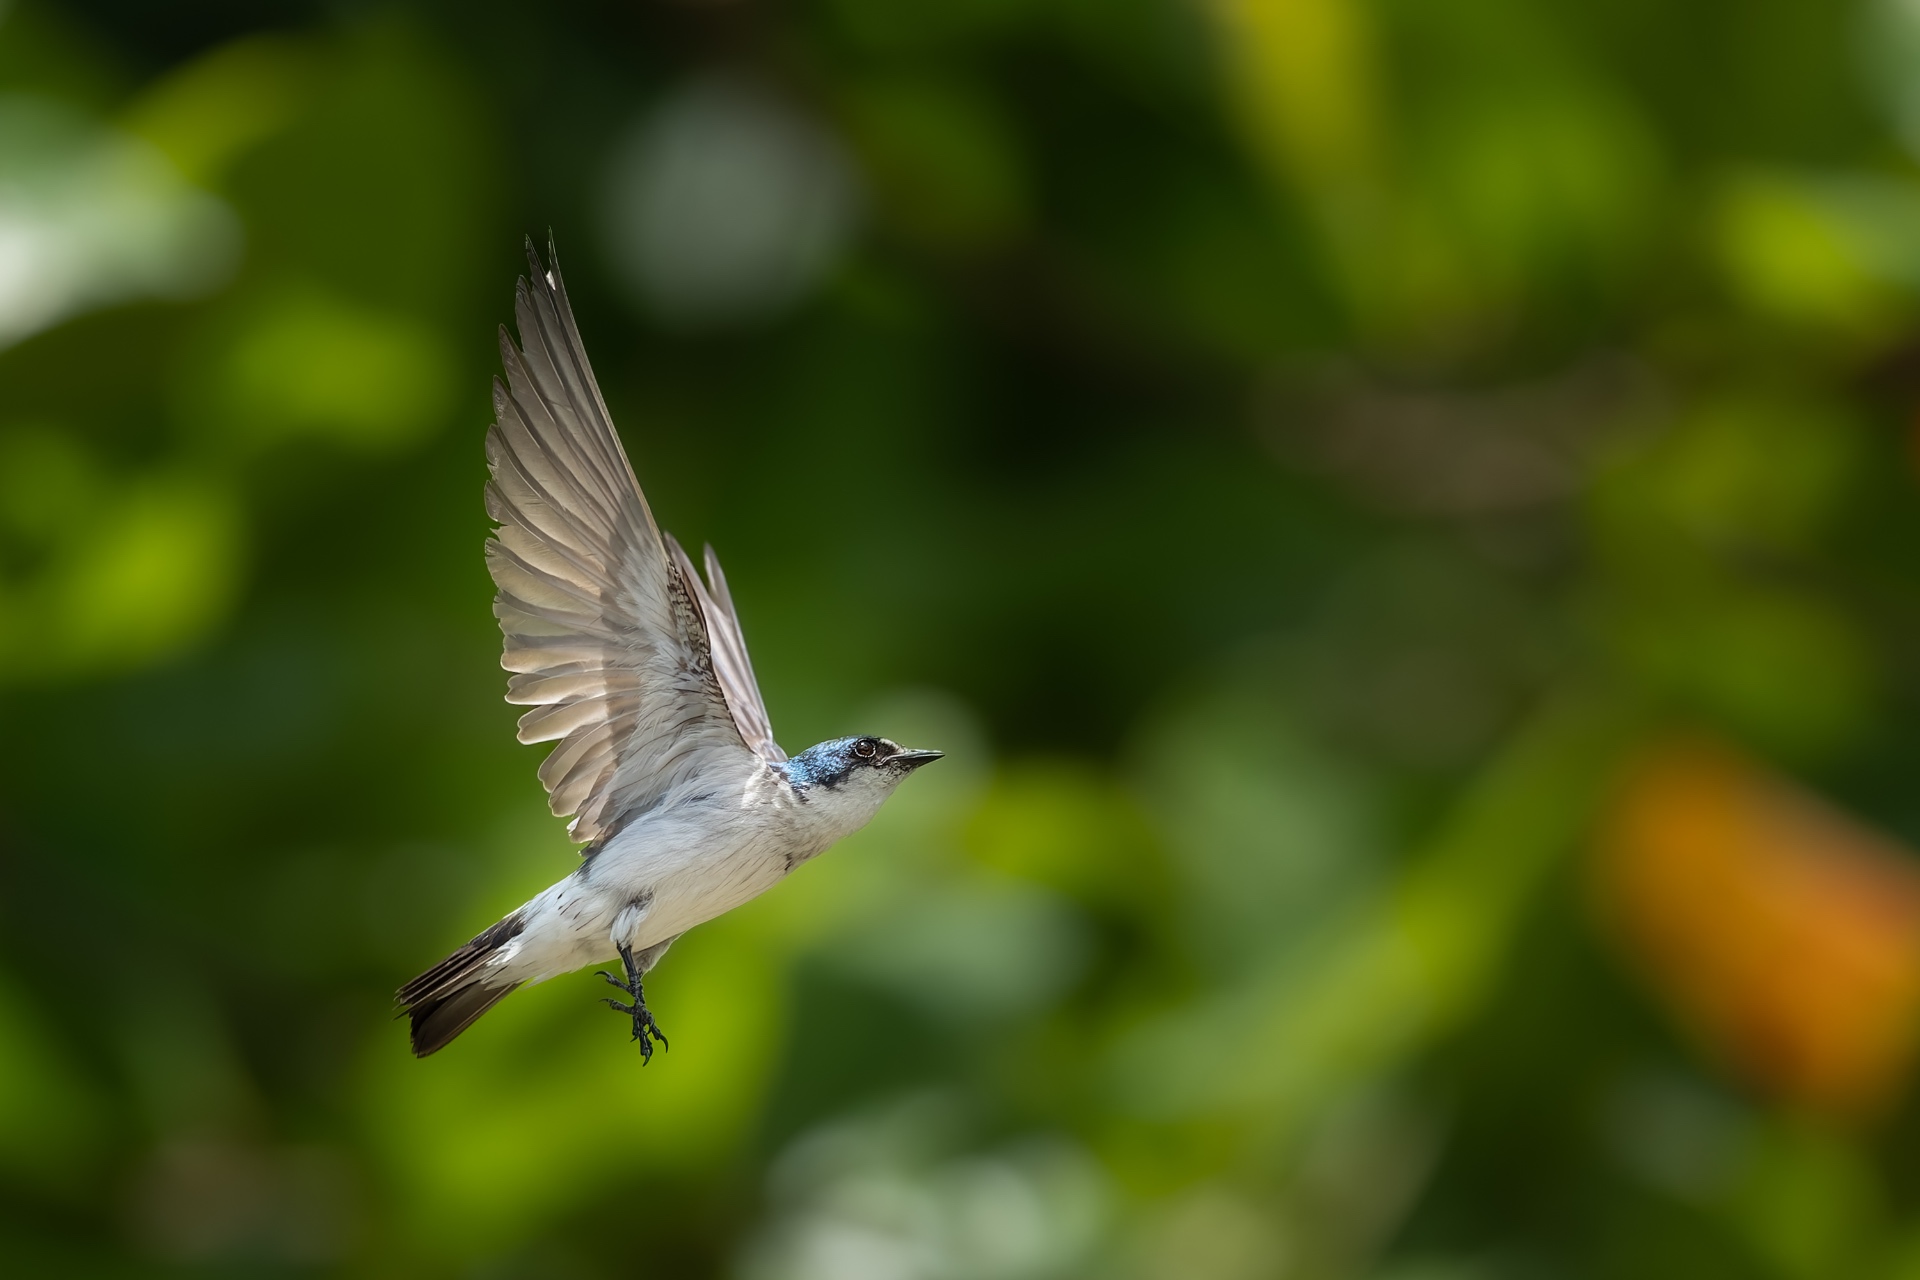
1/3200 sec is the setting I use for around 80% of my bird-in-flight photographs. It is a reliable starting point when I want crisp, sharp results without pushing the ISO higher than necessary.
It works especially well for birds taking off and birds flying towards the camera. When a bird comes directly towards you, there is little opportunity to pan smoothly across the frame, so the shutter speed has to do most of the work of freezing the movement.
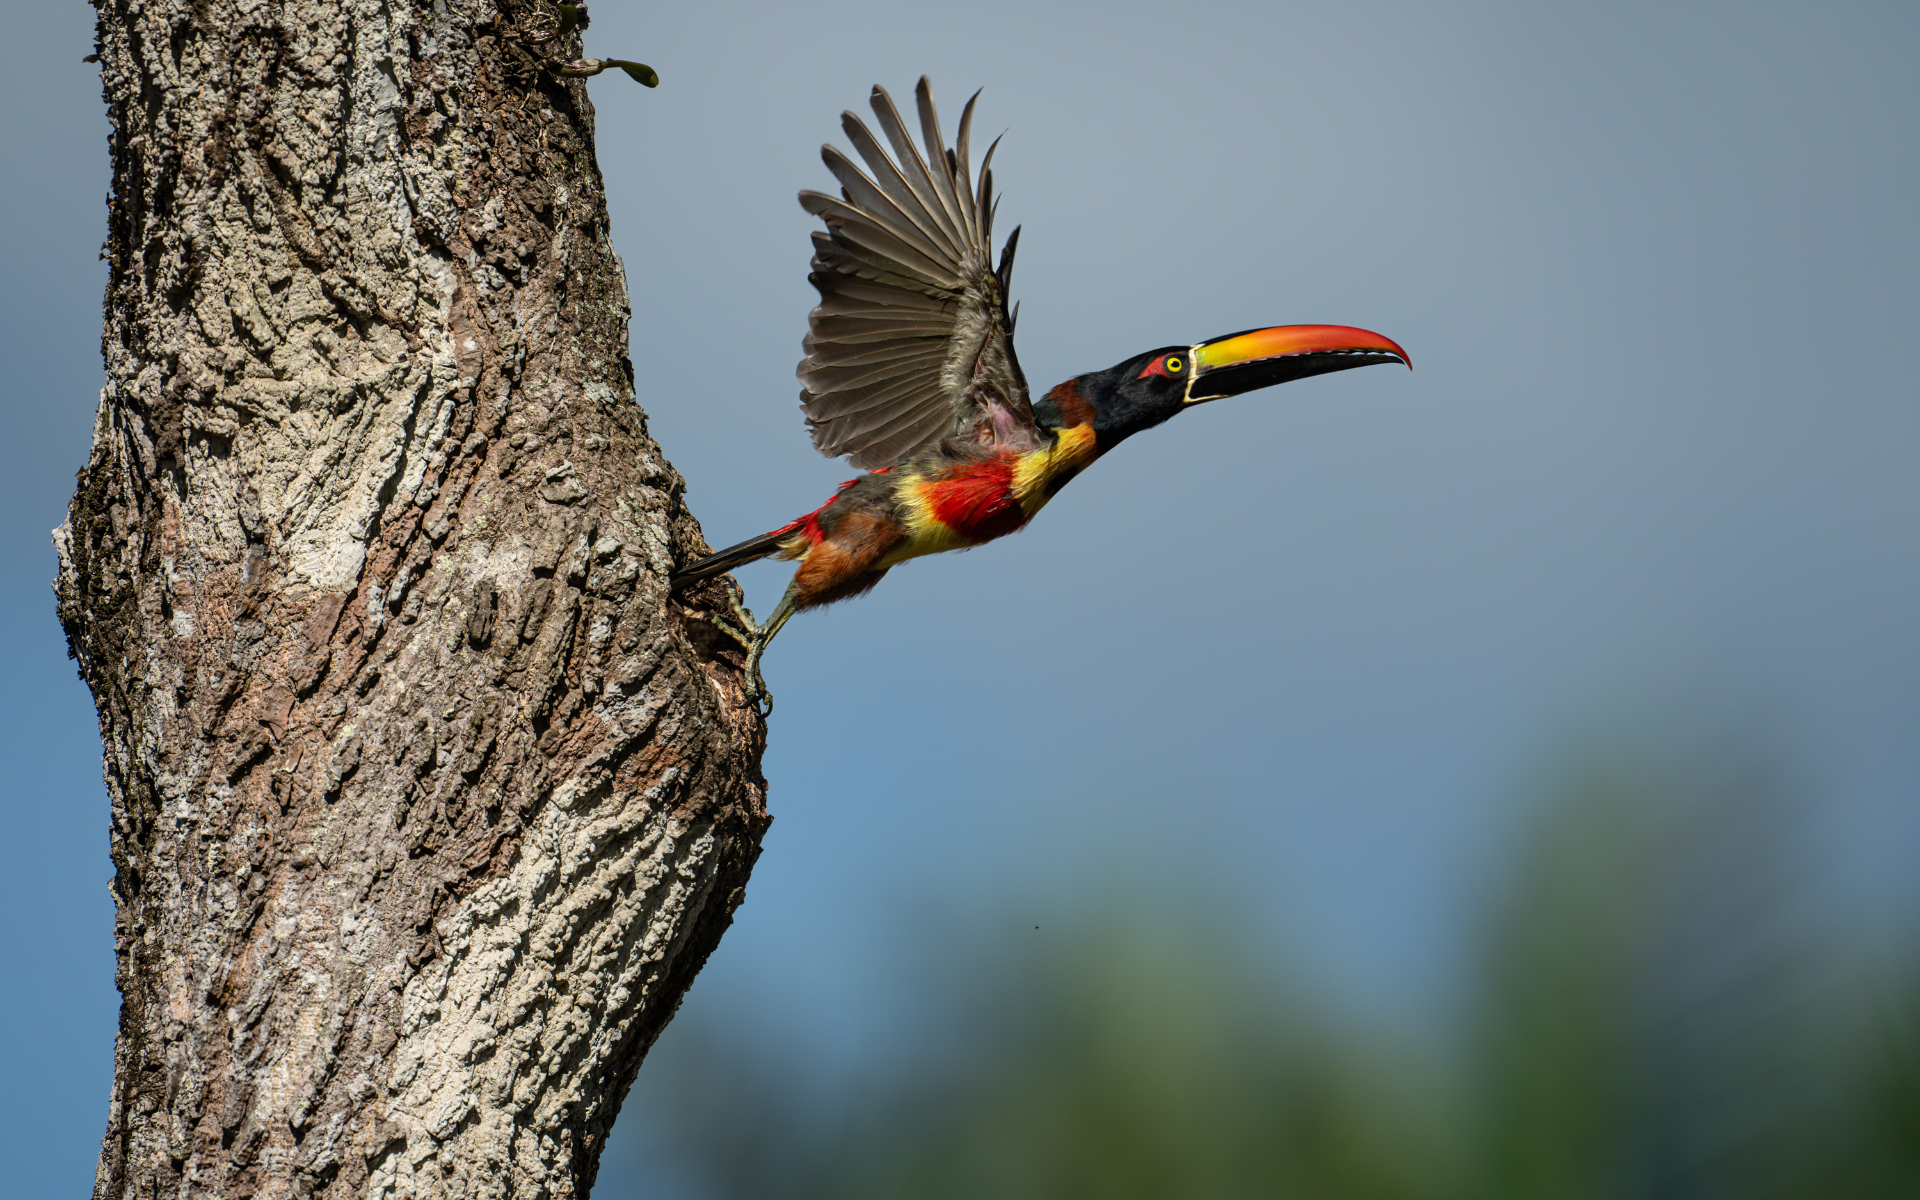
1/4000 sec and faster: small, quick birds
For smaller and faster birds such as swallows and hummingbirds, I usually start at 1/4000 sec. Their wingbeats and changes of direction are so quick that even 1/3200 sec may leave unwanted blur.
If the light is strong, I may go faster still. Check the first few frames at high magnification. If the eye is sharp but the wingtips are blurred, decide whether that movement adds energy or whether you want to raise the shutter speed.
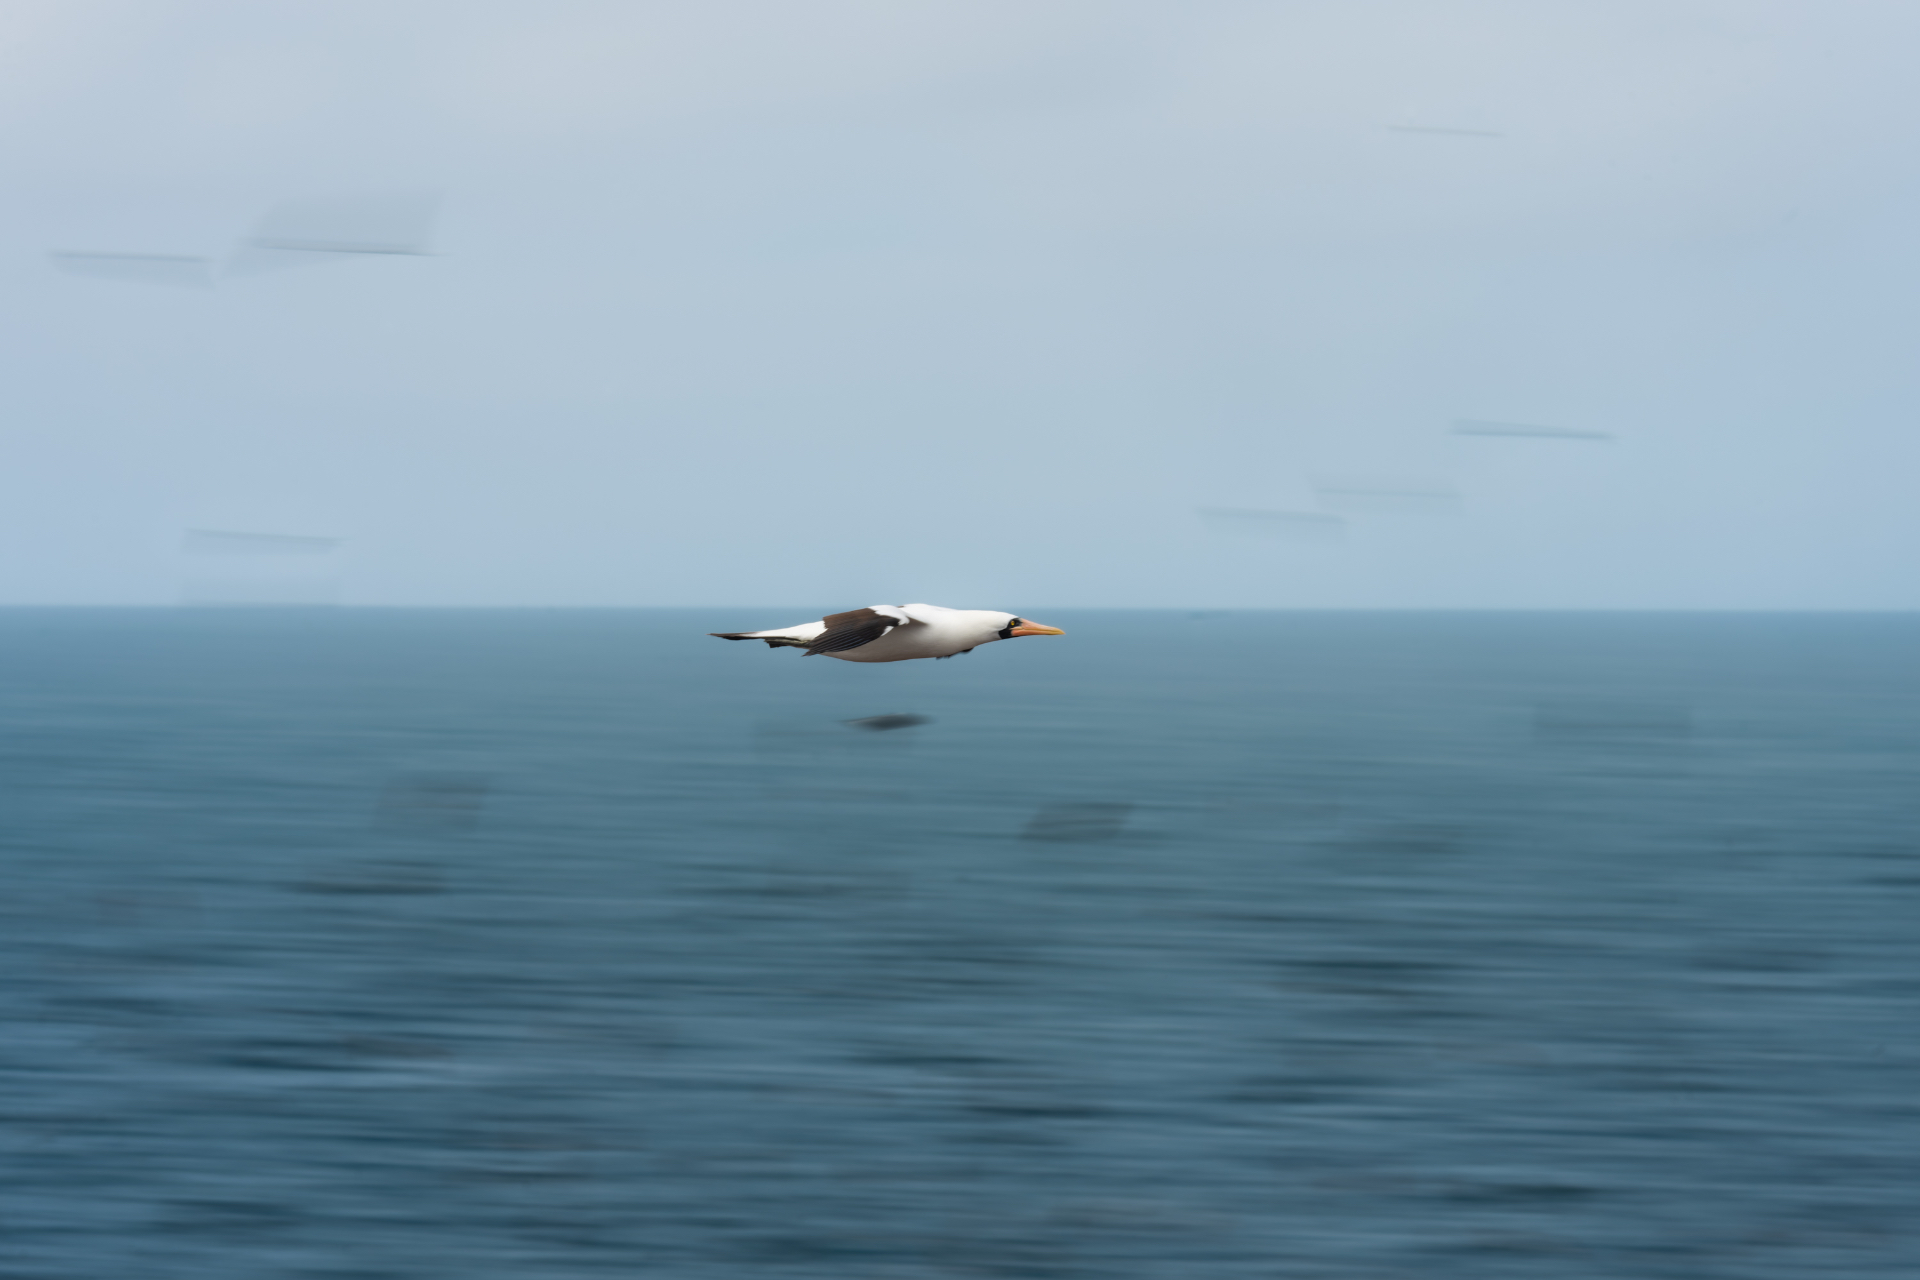
1/50 sec: creative panning
Not every bird-in-flight photograph needs to freeze every feather. A much slower speed such as 1/50 sec can create a panning shot, where you move the camera with the bird at the same speed as it travels.
When it works, the bird stays relatively sharp while the background and parts of the wings streak into soft lines. The result can show a far greater sense of speed than a completely frozen frame. Panning takes practice, so expect plenty of missed shots. Start tracking the bird before pressing the shutter, keep your movement smooth and continue following through after the burst.
Quick reference
- 1/2000 sec: herons, gulls and larger birds with slower wingbeats
- 1/3200 sec: the best all-round starting point for most birds in flight
- 1/4000 sec or faster: swallows, hummingbirds and small, erratic birds
- Around 1/50 sec: creative panning with intentional motion blur
These are starting points rather than strict rules. A gull gliding in a straight line needs less speed than the same gull taking off towards you. Distance also matters: movement appears faster when a bird is close and filling the frame.
Balancing shutter speed, aperture and ISO
A faster shutter speed reduces the amount of light reaching the sensor. To keep the exposure correct, you will need to open the aperture, raise the ISO, or do both.
For birds in flight, I would normally choose a slightly noisy sharp image over a clean image ruined by motion blur. Modern cameras and editing software handle high ISO well, but they cannot restore detail that was never captured because the shutter speed was too slow.
A useful setup is manual exposure with Auto ISO. You choose the shutter speed needed to freeze the action and an aperture that gives enough depth of field, while the camera adjusts the ISO as the bird moves between brighter and darker backgrounds. Keep an eye on your ISO limit and use exposure compensation if your camera supports it in this mode.
Focus and shooting settings that help
Shutter speed is only one part of a sharp bird-in-flight photograph. I also recommend:
- Continuous autofocus so the camera keeps adjusting as the bird moves
- Bird or animal eye detection if your camera has a reliable version
- A wider focus area when the bird is difficult to keep under a small point
- High-speed continuous shooting to capture different wing positions
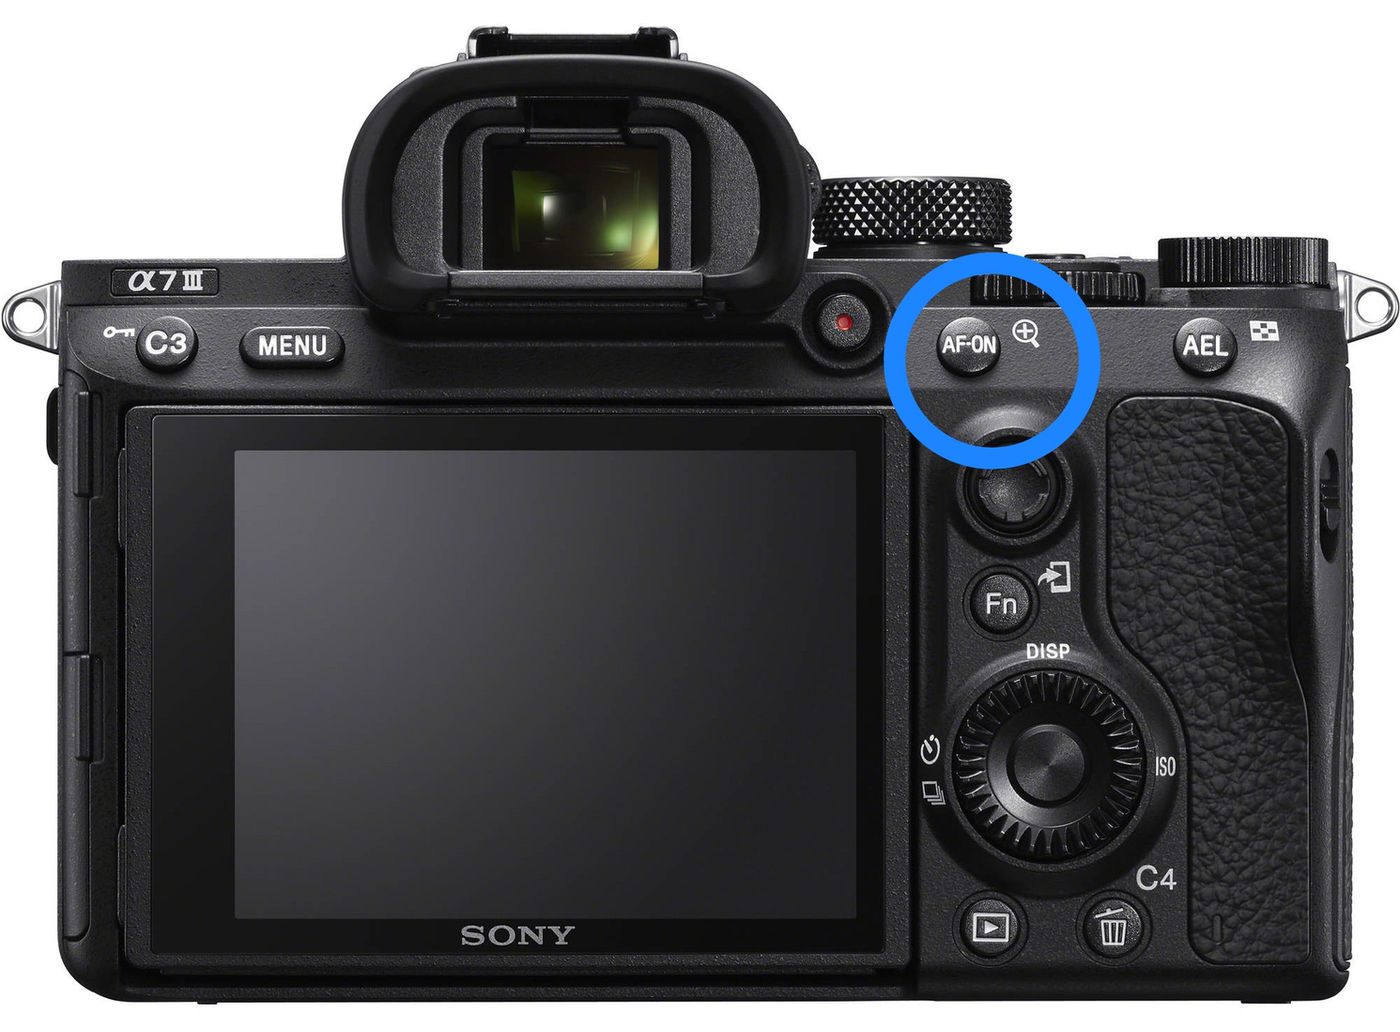
- Back-button focus if you prefer separating focus from the shutter release
Try to pick the bird up early, focus before it reaches the best part of the scene and pan smoothly. It is much harder for the camera to find a fast bird after it has already crossed into the perfect background.
Common shutter-speed mistakes
Staying at one speed all day
The setting that works for a gliding heron will not necessarily freeze a swallow. Reassess the bird's size, speed and direction whenever your subject changes.
Lowering the ISO at the expense of sharpness
It is tempting to protect image quality by keeping the ISO low. For action, the shutter speed usually matters more. A sharp photograph with some noise is far more useful than a smooth but blurred frame.
Forgetting about the result you want
Motion blur is not always a mistake. Decide whether you want every feather frozen or whether a little movement would give the photograph more life. Once you make that decision, the right shutter speed becomes much easier to choose.
Practise before the perfect moment
Do not wait for a rare bird to learn these settings. Gulls, pigeons and ducks are excellent subjects for practising focus tracking, changing shutter speed and smooth panning. The more familiar the controls become, the more attention you can give to the bird's behaviour, the light and the background when an exciting opportunity appears.
If you want to practise photographing birds and other wildlife with hands-on guidance, explore my Costa Rica wildlife photography workshops.