Photography tips · October 2026
What Is Exposure Compensation? A Wildlife Photography Guide
Learn how exposure compensation makes your photographs brighter or darker, what changes in each camera mode, and when to use it for wildlife.
You have framed a bird against the sky, focused on its eye and taken the photograph — but the bird looks too dark. Or you have photographed pale feathers against dark foliage and lost the detail in the brightest parts. Often, the camera's meter needs a little guidance rather than a completely different setup.
Exposure compensation tells your camera to make the photograph brighter or darker than its meter would normally choose. In the video above, I explain the key point: it does this by changing a setting you have left on automatic.
What does exposure compensation mean?
Your camera measures reflected light and estimates an exposure. It does not know whether you want to preserve the detail in a white bird's feathers, brighten a backlit animal or create a silhouette. Exposure compensation lets you adjust that estimate.
- Positive compensation (+) asks for a brighter photograph.
- Negative compensation (−) asks for a darker photograph.
- 0 EV means no compensation — you are using the camera's metered exposure without a brightness adjustment.
EV stands for exposure value. A change of +1 EV is one stop brighter, while −1 EV is one stop darker. With shutter speed or aperture, a stop corresponds to doubling or halving the light reaching the sensor; with Auto ISO, the camera changes the ISO instead. Most cameras let you adjust in one-third-stop steps, such as +0.3, +0.7 and +1.0.
Zero is not a guarantee of the right result. It simply means you have not asked the camera to move away from its estimate.
What does the camera actually change?
Exposure compensation is not a separate fourth exposure setting. It changes the camera's target exposure, and the camera adjusts whichever settings it is allowed to control. The exact behaviour depends on your mode, Auto ISO settings and camera model.
Manual mode with Auto ISO
This is the first example in my video. You choose the shutter speed and aperture, and the camera controls the ISO.
On cameras that support exposure compensation in this mode, positive compensation raises the ISO to brighten the photograph. Negative compensation lowers the ISO to darken it. Your chosen shutter speed and aperture stay the same.
For wildlife, this can be useful because you can keep a shutter speed fast enough for movement and an aperture suited to the depth of field you want, while adjusting the brightness. The camera cannot keep adjusting once it reaches its ISO limits.
Shutter priority: S or Tv
You choose the shutter speed and the camera chooses the aperture. With a fixed ISO, positive compensation normally opens the aperture, while negative compensation closes it down.
As I explain in the video, it is the automatic setting — here, the aperture — that changes. If Auto ISO is also enabled, the camera may adjust ISO as well. Once the lens reaches its widest or smallest aperture, the camera may not be able to achieve the brightness you have requested.
Aperture priority: A or Av
You choose the aperture and the camera chooses the shutter speed. With a fixed ISO, positive compensation normally uses a slower shutter speed; negative compensation normally uses a faster one.
Watch your shutter speed when brightening a wildlife photograph in aperture priority. If it becomes too slow, movement can blur even though the brightness looks right. With Auto ISO enabled, the camera may also change ISO, depending on its settings.
Full Manual with a fixed ISO
When shutter speed, aperture and ISO are all set manually, there is no automatic exposure setting for the camera to change. Exposure compensation does not change the brightness of an ambient-light photograph in this setup. On some cameras it may change the meter's reference, but you still need to adjust shutter speed, aperture or ISO yourself.
Flash exposure compensation is a separate control for flash output; it is not the subject of this guide.
When should you use positive exposure compensation?
A bird against a bright sky
A large area of bright sky can persuade the meter to make the whole frame darker, leaving the bird underexposed. If you want detail in the bird rather than a silhouette, try a small positive adjustment, such as +0.3 or +0.7 EV, and check the result.
You may need more in strongly backlit conditions, but there is no universal number. Brightening the bird may also cause the sky to lose detail. Decide which part of the photograph matters most.
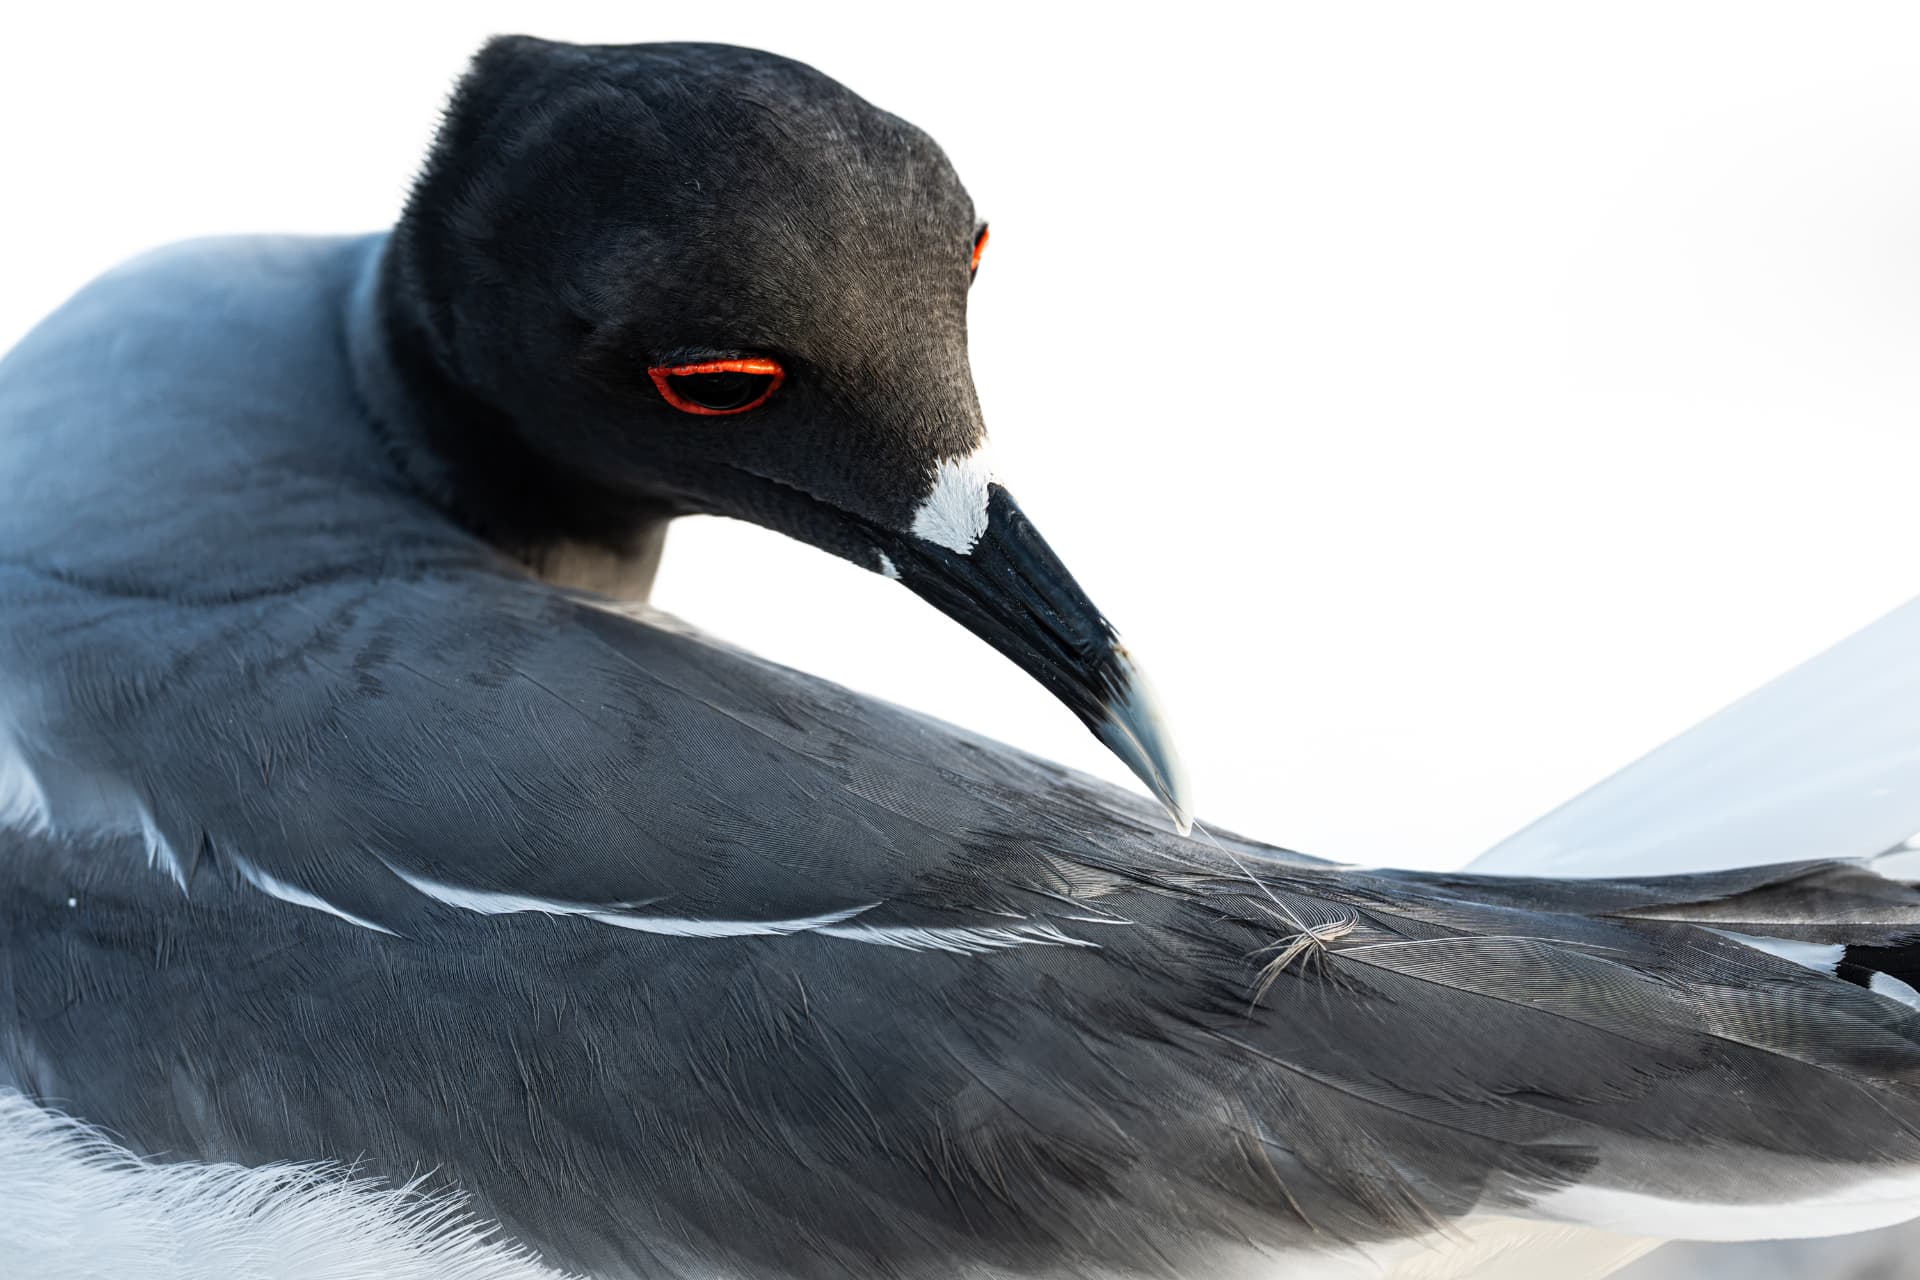
This swallow-tailed gull was photographed against a sky that had washed out to pure white. Metering for that background alone kept the bird's dark feathers flat and dull, so positive compensation brought back the tonal detail in its head and mantle while the sky stayed white.
Snow or a very pale background
A predominantly pale scene can come out too grey because the camera is trying to bring it towards an average brightness. Positive compensation can help keep the scene looking naturally bright. Check the brightest feathers or fur carefully rather than simply increasing compensation until the whole screen looks lighter.
When should you use negative exposure compensation?
Pale feathers against a dark background
A dark background can lead the camera to brighten the exposure too much, washing out detail in a sunlit white bird. A small negative adjustment can help protect those highlights.
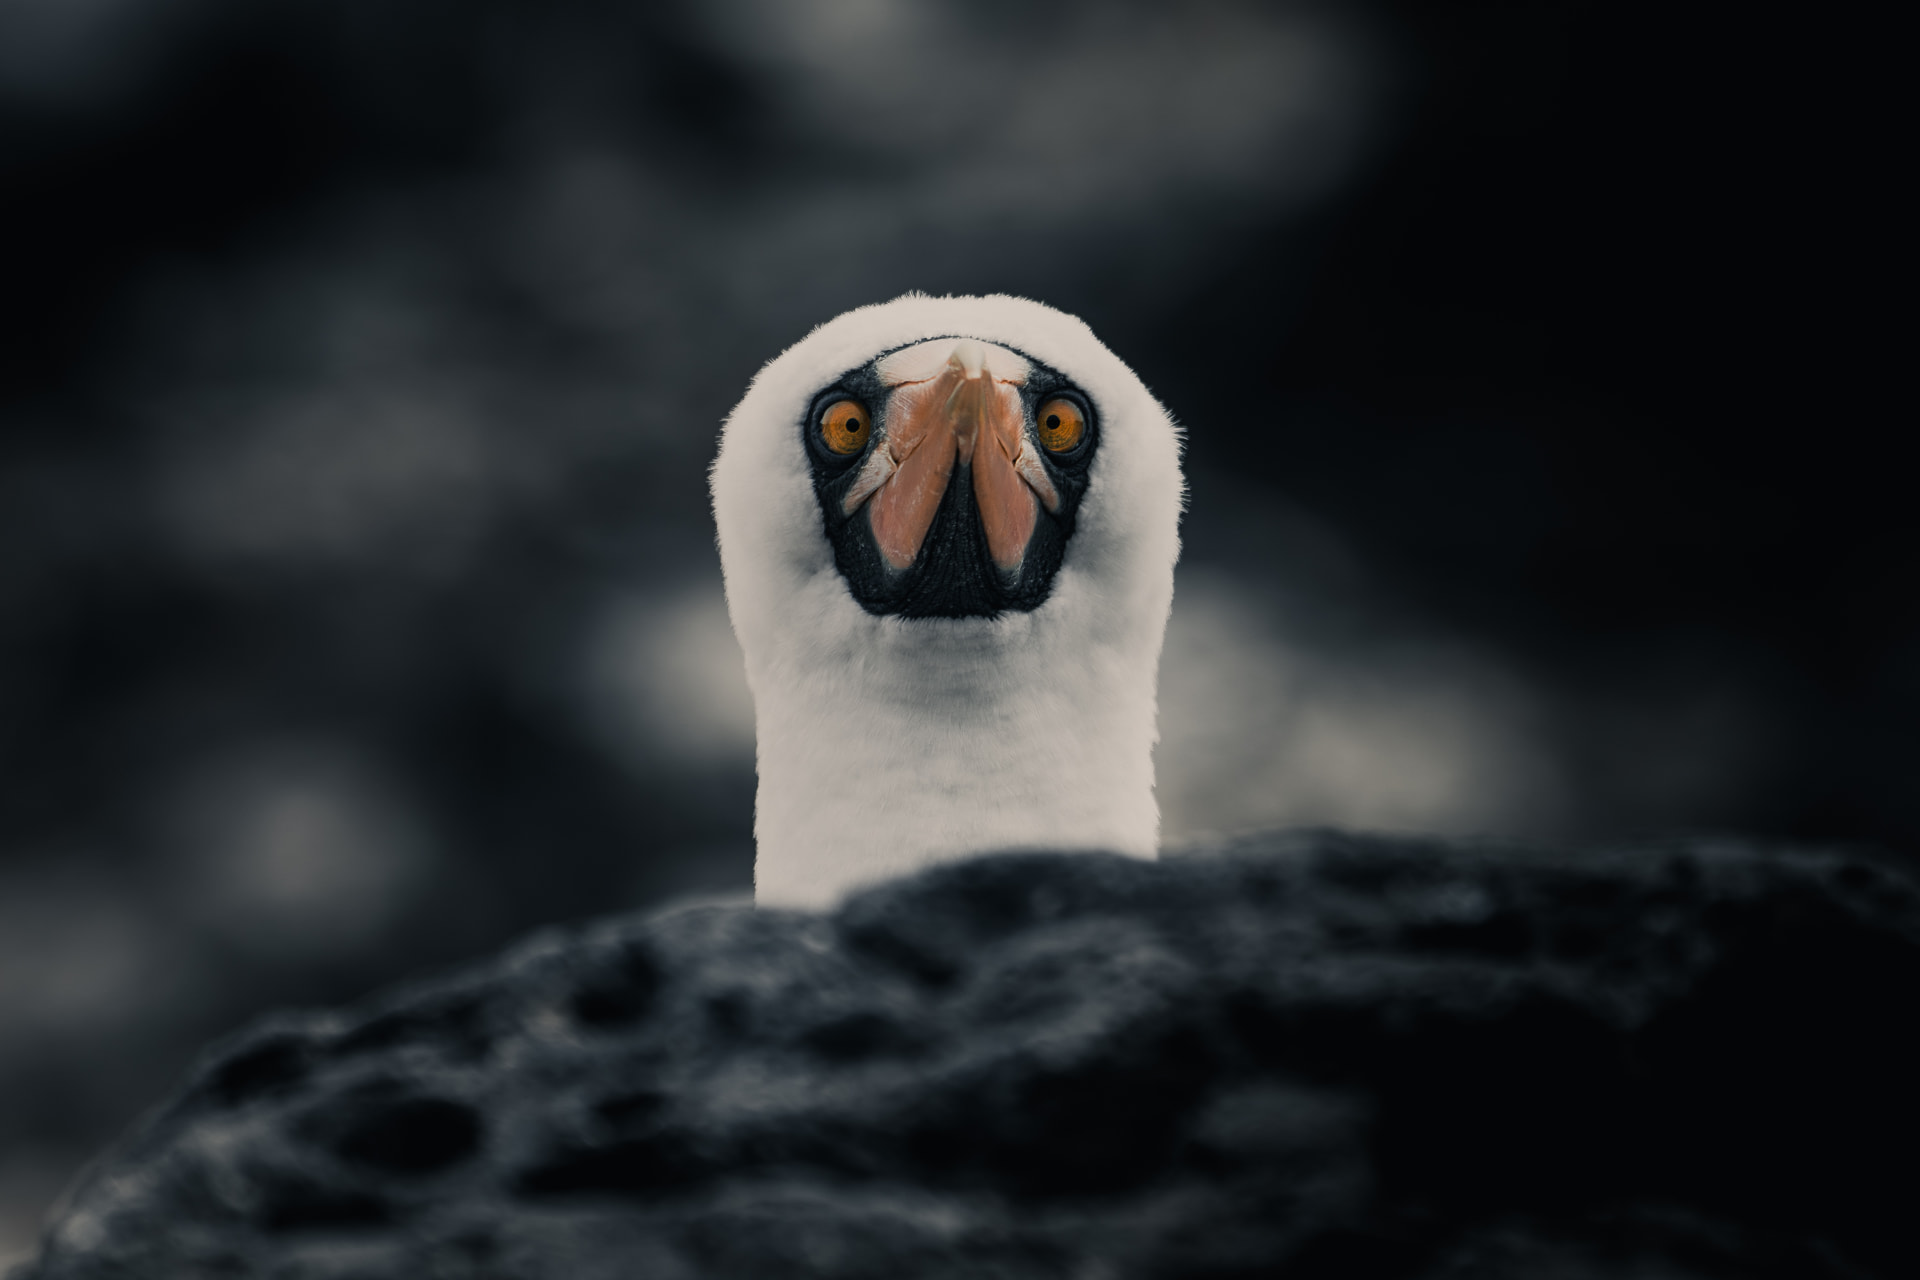
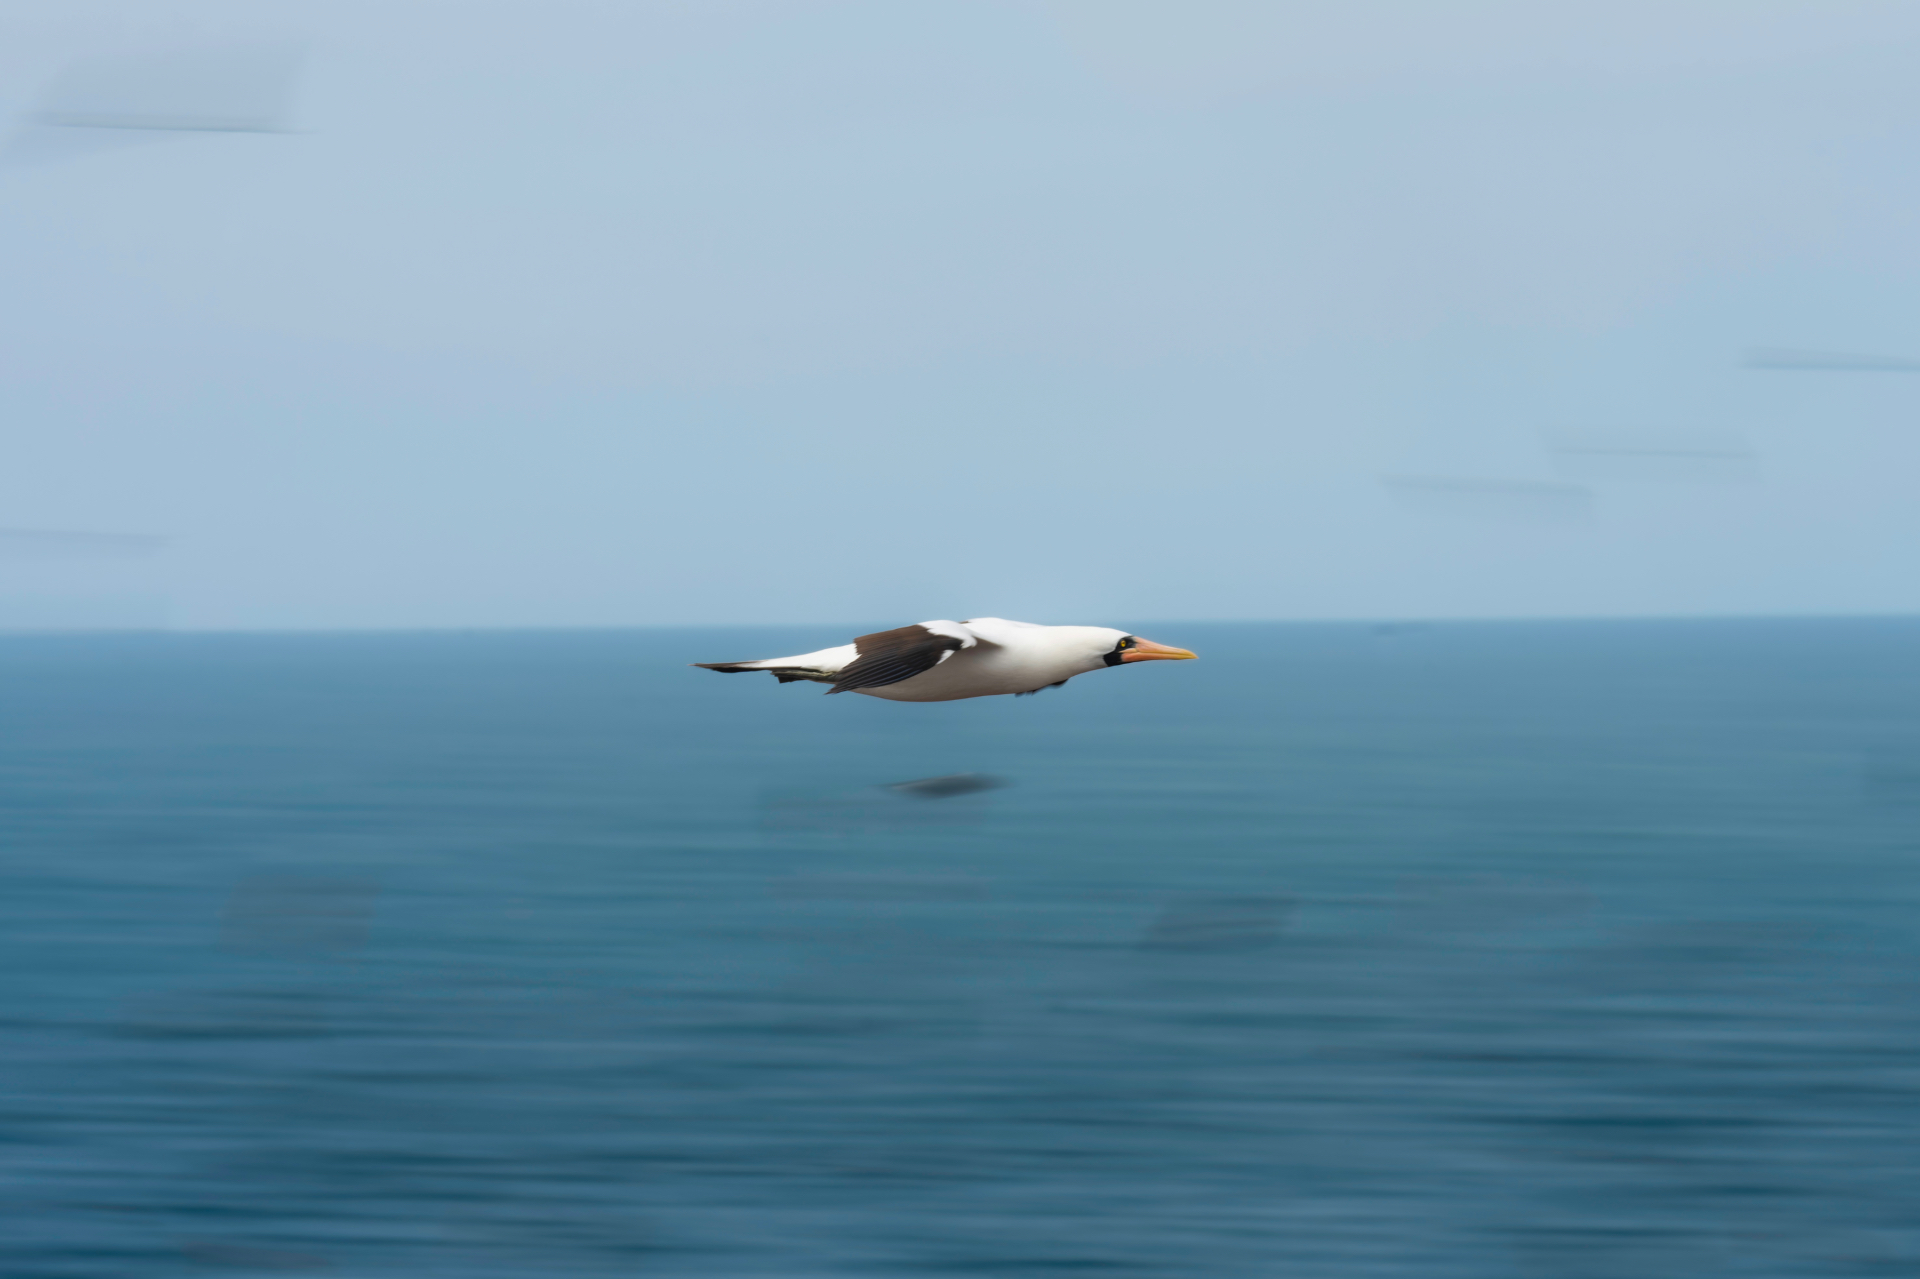
This Nazca booby was sitting behind dark volcanic rock with shadow filling the background. With so little light behind it, the camera wanted to brighten the whole frame and risked losing feather detail in the bird's white head. A small negative adjustment kept those highlights intact. It is not a before-and-after exposure compensation comparison, just a reminder to judge the bird's feathers rather than the overall brightness of the scene.
Patches of sunlight in the rainforest
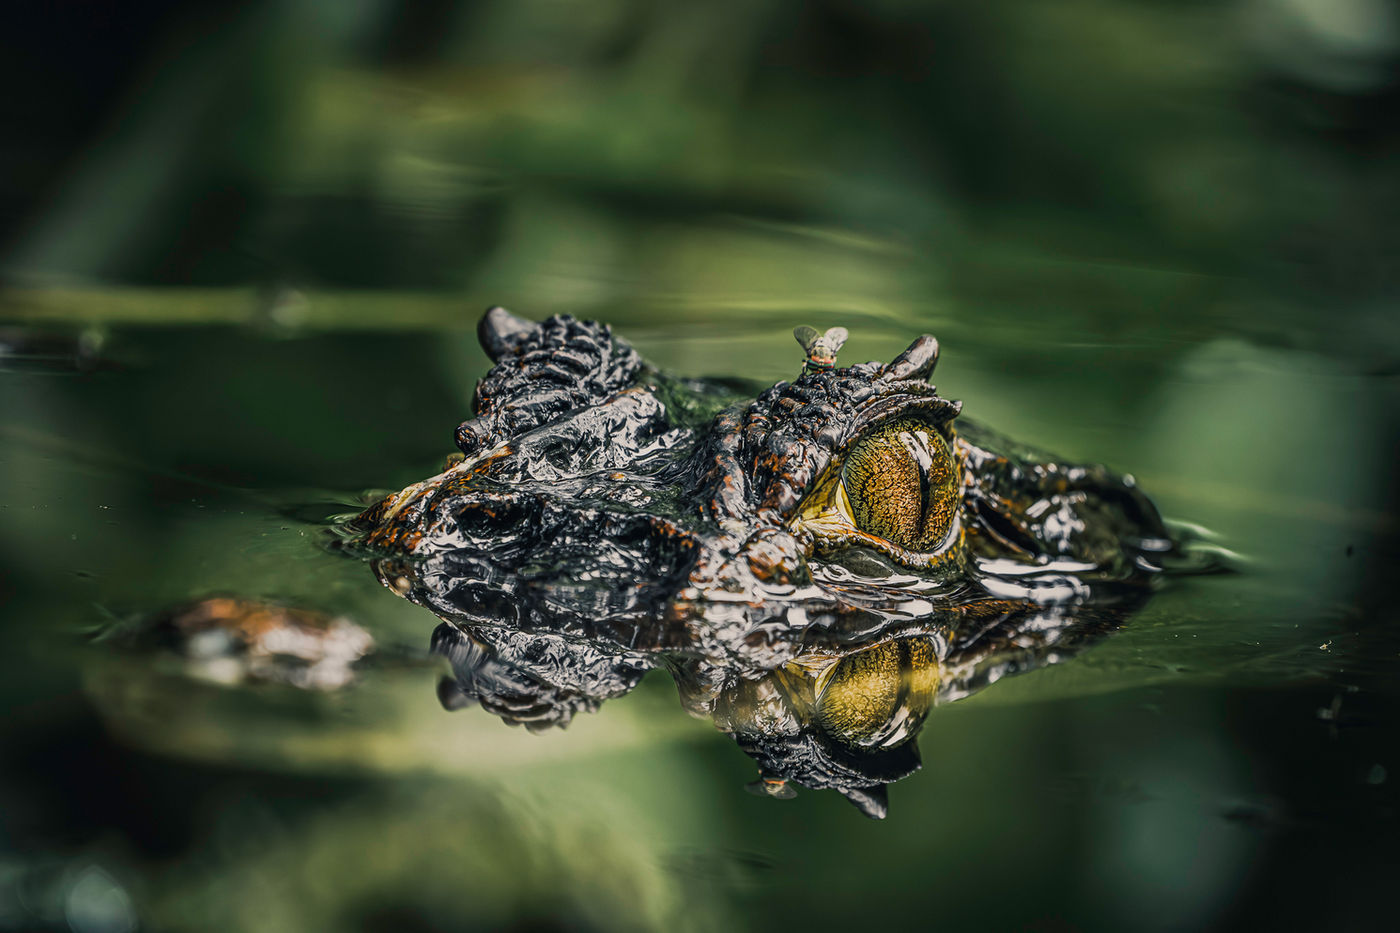
An animal may be standing in a bright patch of light while most of the frame is in shade. If the metered exposure is losing detail in the sunlit fur or feathers, try negative compensation and check again.
A dark animal does not automatically need positive compensation, and a white animal does not automatically need negative compensation. The background, lighting and metering mode all matter. Adjust according to what the camera is actually recording.
How to use exposure compensation, step by step
- Choose a mode that allows an automatic exposure adjustment. For wildlife, Manual with Auto ISO is a useful option if your camera supports compensation in that mode.
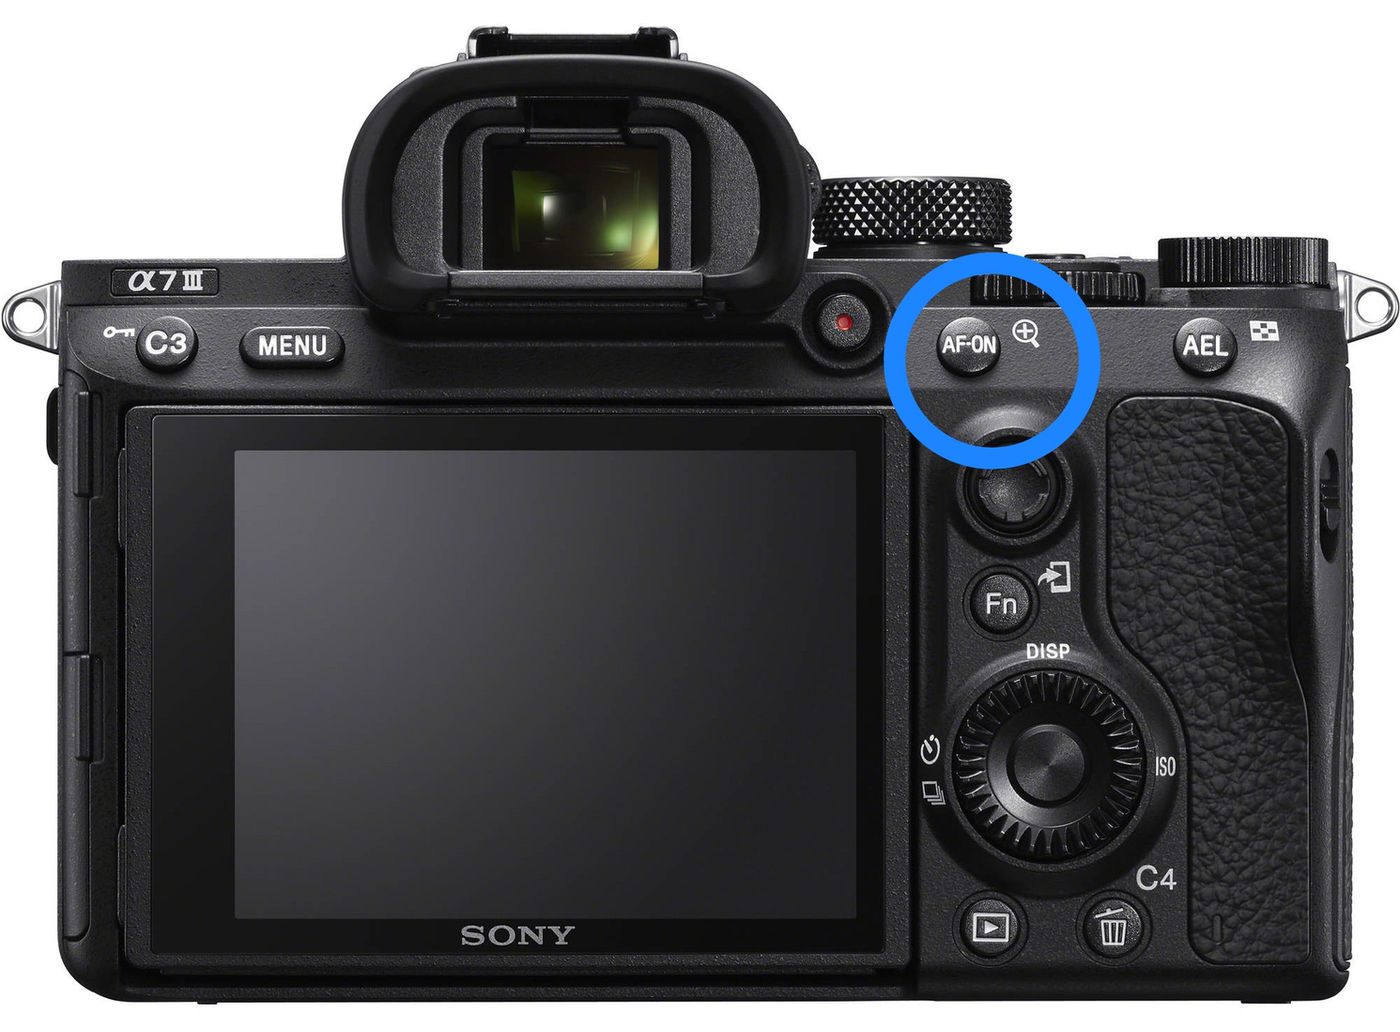
- Find the +/− control. It may be a dedicated dial, a button used with a command dial, or an on-screen control. The exact method varies by camera.
- Take a test photograph or use the exposure preview. Check whether the important parts of the animal look too bright or too dark.
- Make a small adjustment. Start with one or two one-third-stop clicks in the appropriate direction.
- Check the histogram and highlight warnings. Look for lost detail in important bright areas, while also checking the subject itself. A histogram describes the whole frame, not just the animal.
- Keep watching the settings. Make sure your shutter speed remains suitable for movement and that the camera has not reached an aperture or ISO limit.
- Return to 0 EV when appropriate. A setting that worked against a bright sky may be wrong when the bird lands in shaded foliage.
A live preview is helpful, but the rear screen can be misleading in bright sunshine. The histogram and highlight warnings give you another way to judge exposure. In RAW shooting, these displays are usually based on a JPEG preview, so they are a guide rather than a precise measurement of every bit of recoverable RAW detail.
Common exposure compensation mistakes
Forgetting an adjustment is still set
Exposure compensation often remains active between photographs. Check the +/− indicator when the light or background changes, especially at the start of a new session.
Expecting it to work in full Manual
If your ISO is fixed and you have chosen both shutter speed and aperture, turning the compensation dial cannot make the camera change those settings for you. Adjust the exposure directly, or use an appropriate automatic setting.
Brightening the image without checking movement
In aperture priority, a brighter exposure may mean a slower shutter speed. For moving birds, keep checking that it is still fast enough. My guide to the best shutter speeds for birds in flight explains useful starting points.
Assuming editing will recover everything
RAW files give you flexibility, but important highlights that are genuinely clipped may have no detail left to recover. Aim to capture a useful exposure in the camera rather than relying on a brightness slider afterwards.
A simple exercise to build confidence
Find a still subject with both light and dark areas. Without changing the composition, photograph it at 0 EV, +1 EV and −1 EV in aperture priority with a fixed ISO. Compare the brightness and look at the shutter speeds the camera selected.
Then repeat in Manual with Auto ISO, if your camera supports compensation there. Keep the shutter speed and aperture fixed and watch the ISO change instead. This makes the explanation in the video much easier to recognise on your own camera.
Exposure compensation: the key takeaway
You choose whether the photograph should be brighter or darker; the camera gets there by adjusting a setting left on automatic. Once you know which setting that is, the +/− control becomes far less mysterious.
For more camera setup advice, read my best camera settings for wildlife photography. If you would like one-to-one guidance built around your camera, your experience level and your goals, explore my Wildlife Photography Masterclass.