Home
HomeCosta Rica · August 2026
Wildlife Photography in Costa Rica: Complete Guide
A practical guide to tracking wildlife, reading rainforest light and making stronger photographs on Costa Rica’s Osa Peninsula.
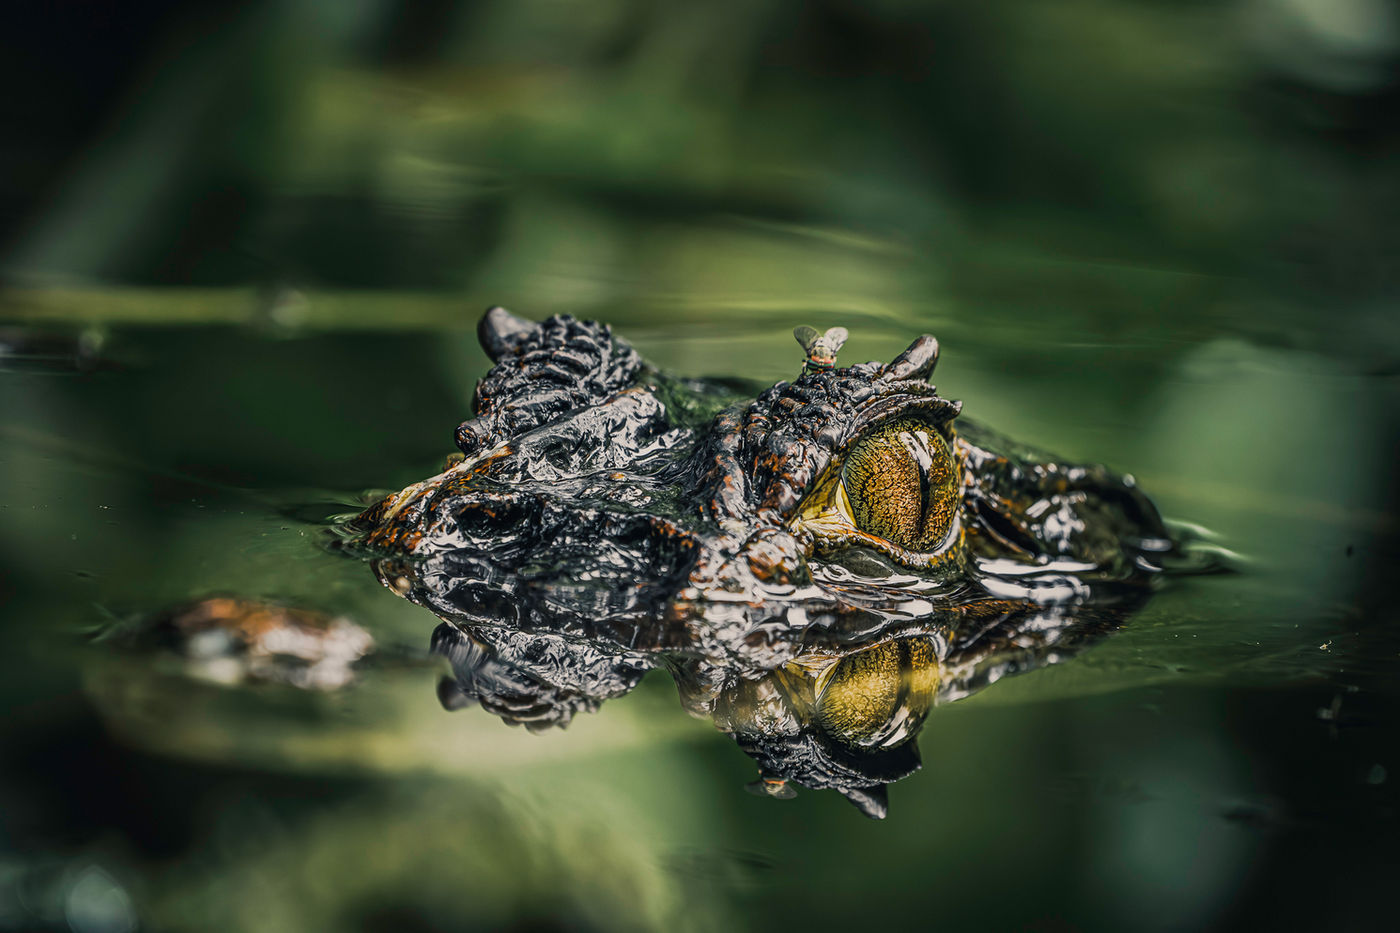
Costa Rica’s is one of the world's most thrilling places for wildlife photography because the subjects are real, wild and unpredictable.
Costa Rica offers many strong locations, but the Osa Peninsula stands apart for its mix of rainforest, coastline, mangroves, rivers, and primary forest. The following field guide focuses on how to work there with more skill, more patience, and a much better chance of coming home with images that feel alive.
Wildlife tracking and behaviour in the Osa Peninsula
Good tracking starts before you see the animal. In rainforest, your first clues are often sound, movement, food remains, or fresh disturbance.
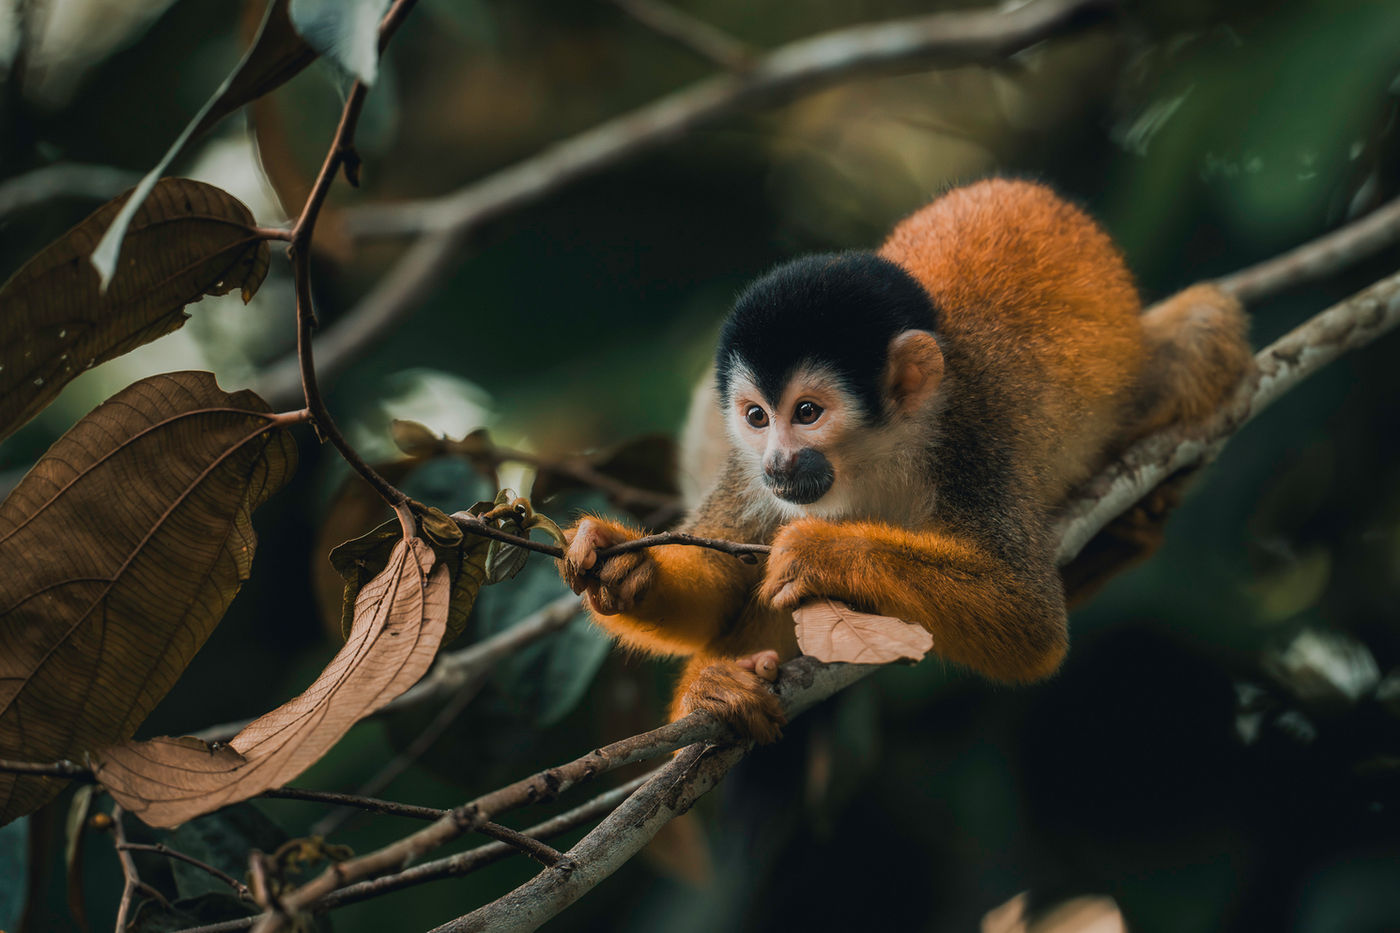
Read the forest floor for monkey activity
Howler monkeys are loud, but they are not always easy to frame. Their calls can carry through the forest, making them sound closer than they are. A useful clue is on the ground.
If you find fresh Cecropia leaves scattered on the forest floor, look up and slow down. Cecropia is a favourite food source for Howler monkeys, and dropped leaves can signal that a troop is feeding nearby. Do not rush directly underneath them. Step back, find a gap in the canopy, and watch the direction of travel.
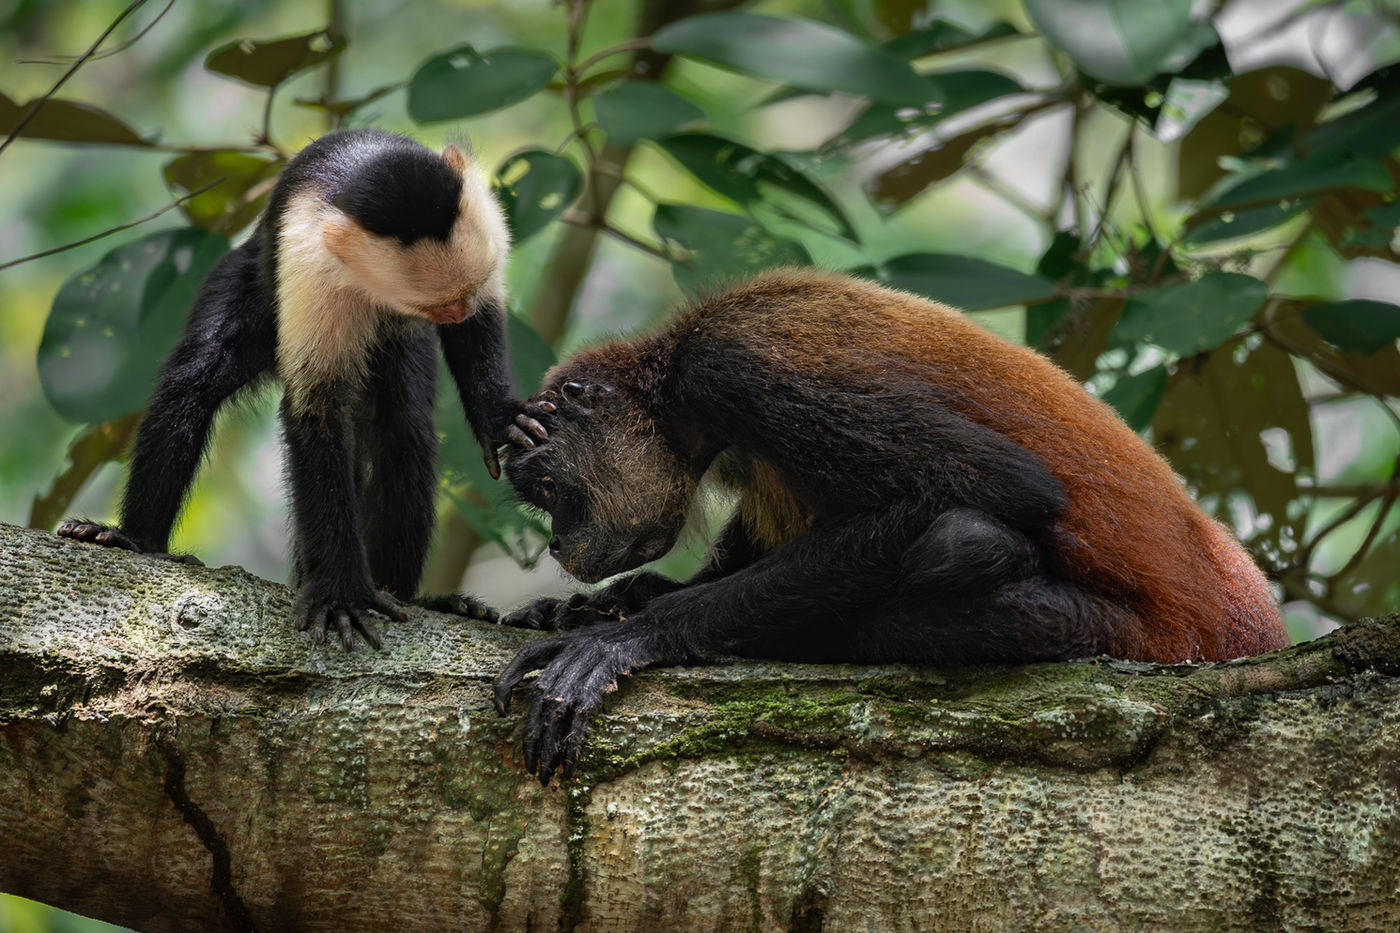
Monkeys often follow the same paths through the canopy. They use familiar branches like aerial trails. If you miss the first subject crossing a gap, do not drop the camera and move on. Hold your composition. A second monkey, juvenile, or adult may follow the same route within moments.
This is one of the most reliable rainforest tactics. Pre-focus on the opening, set a fast shutter, and wait for the next animal to enter the frame.
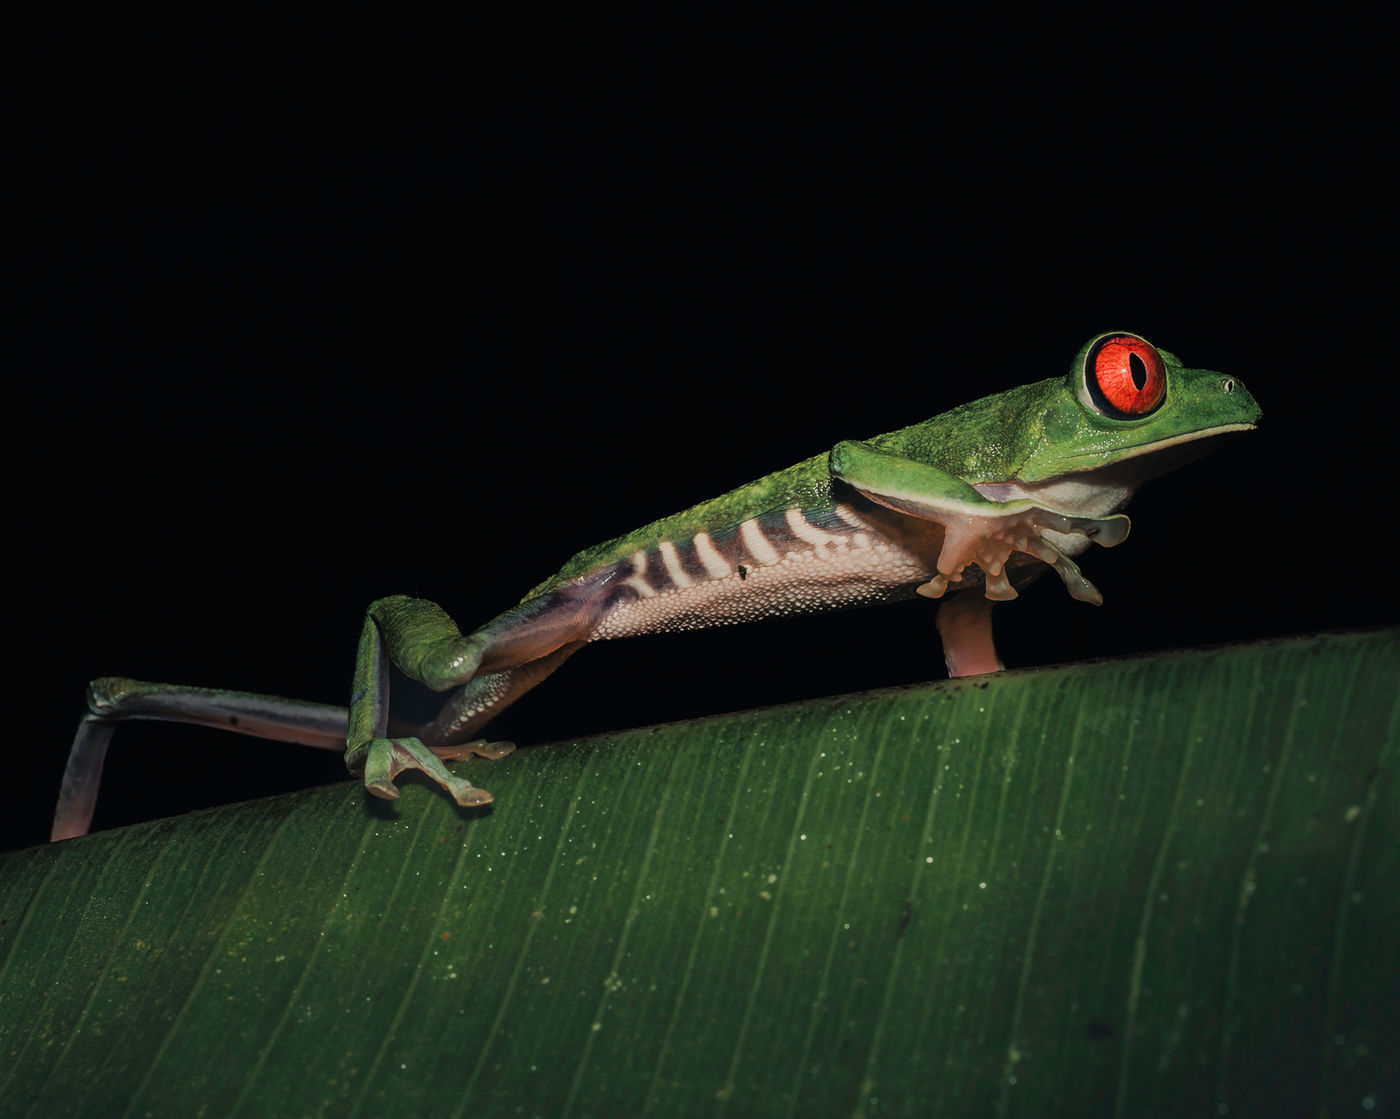
Listen before looking for Red-Eyed Tree Frogs
Red-Eyed Tree Frogs are night-time jewels, but finding them is more about listening than scanning randomly with a torch.
Near ponds, puddles, slow streams, and wet vegetation, listen for a clicking/popping sound, especially after a fresh rain. That sound can lead you to active frogs calling from leaves around bodies of water.
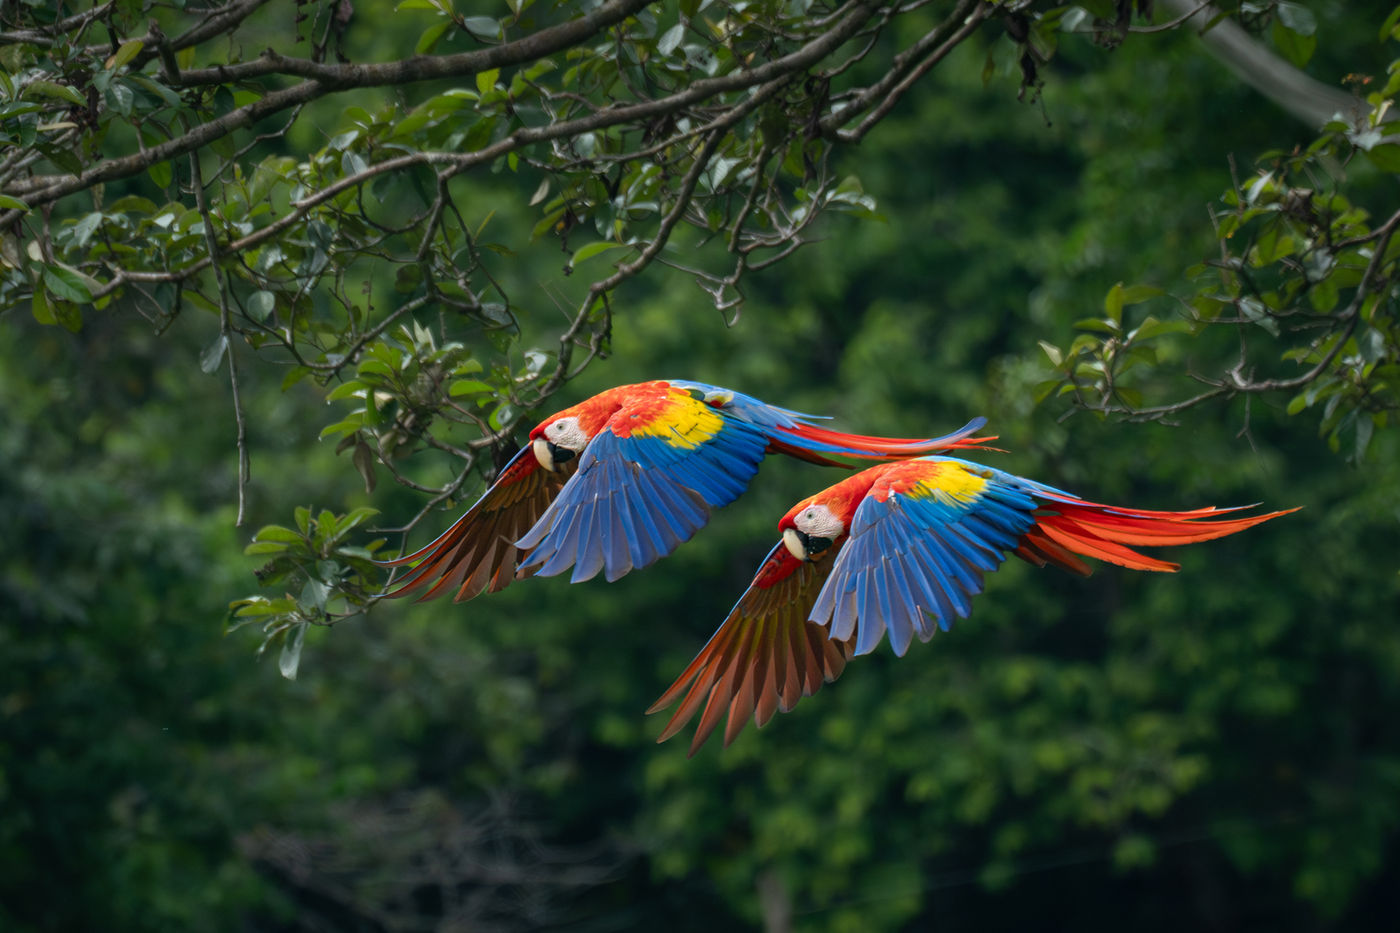
Watch the coastline for Scarlet Macaws
Scarlet Macaws are among the Osa’s great gifts to photographers. Their colour is stunning.
Along the coastline, watch for macaws feeding on beach almonds. They may gather near almond trees, call loudly, move in pairs, or drop down to feed where fruit and nuts have fallen. Coastal light can be far cleaner than deep forest light, which gives you a better chance of capturing feather detail and environmental context.
Use exposure compensation with intent
Rainforest light can trick your meter. Bright leaves, sun patches, dark trunks, and reflective wet surfaces create high contrast. In harsh rainforest light, use negative exposure compensation to save highlights. A setting around -0.3 to -1.0 can protect bright leaves, pale fur, and sunlit feathers from clipping.
The opposite applies when you photograph against bright overcast skies, pale backgrounds, or white water. If a monkey, bird, or sloth sits against a bright sky, the meter may underexpose the subject. Switch to positive exposure compensation, often around +1.0 to +2.0, to bring detail back into the animal.
Check your histogram when the light changes. Do not rely only on the rear screen, especially in bright coastal conditions.
Match focus mode to the situation
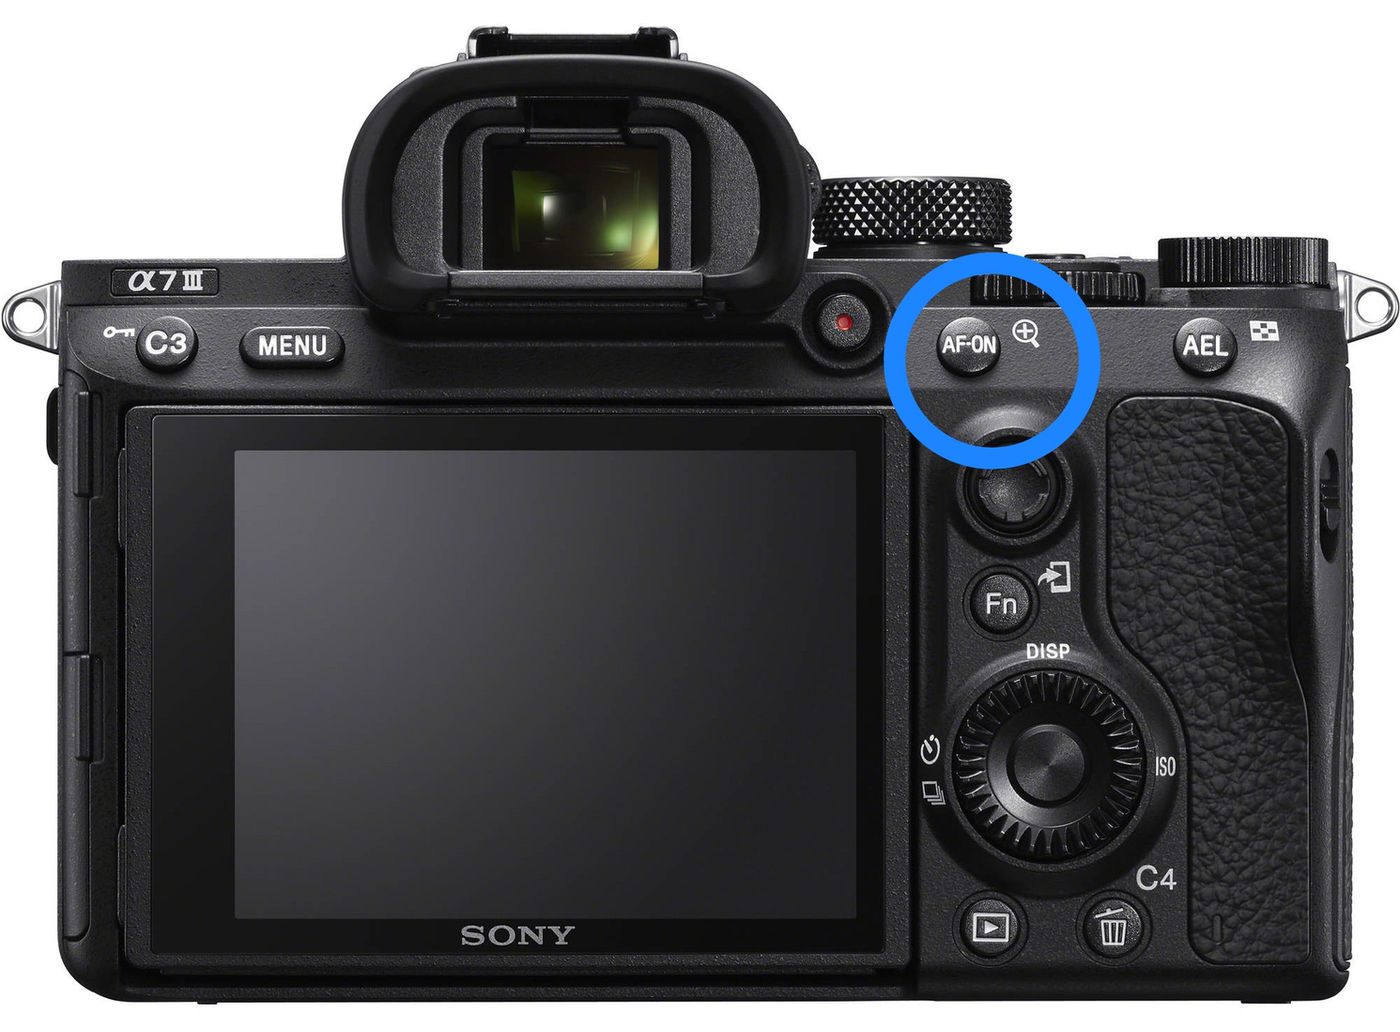
When you are walking use a Wide Focus Area with a fast shutter speed. This gives you more of a chance to capture action that may happen quikcly and you could miss like a bird in flight or an animal crossing the path infront.
When the situation slows down, change your approach. For low-light portraits through thick foliage, use Single Point Focus and a slower shutter if the subject is still. Place the point carefully on the eye or face. This helps avoid the common rainforest problem where the camera locks onto a leaf in front of the animal.
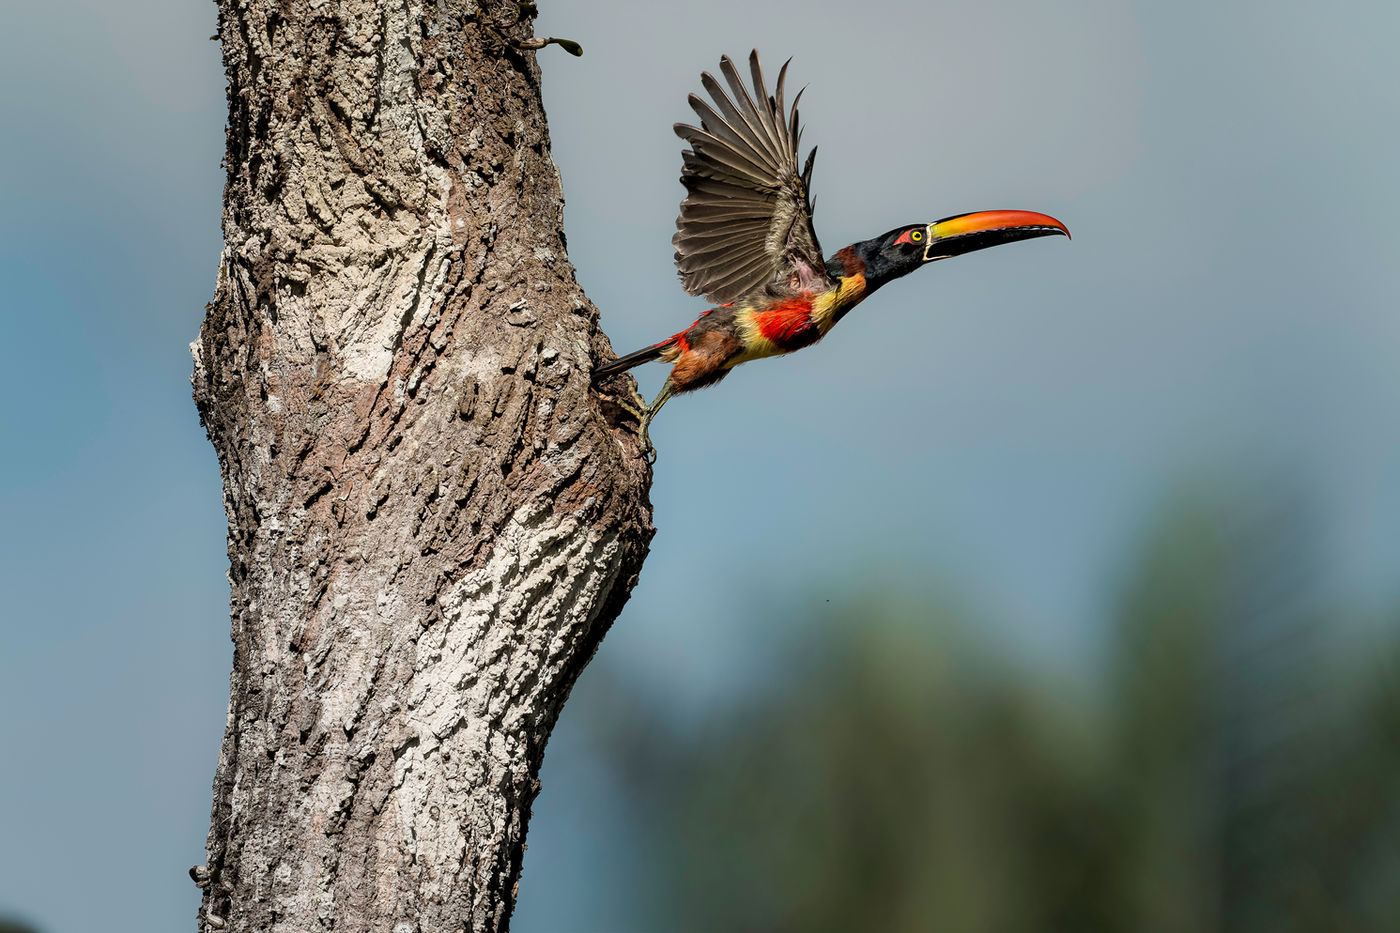
Compose with your eyes first
Many photographers raise the camera too early. The viewfinder narrows attention and makes it easy to miss the better frame just outside the edges.
In the Osa, compose with your eyes first. Scan the whole scene before looking through the camera. Where is the light falling? Which branches create a clean line? Is there a darker background behind the subject? Is the animal moving towards a better opening?
Then bring the camera up.
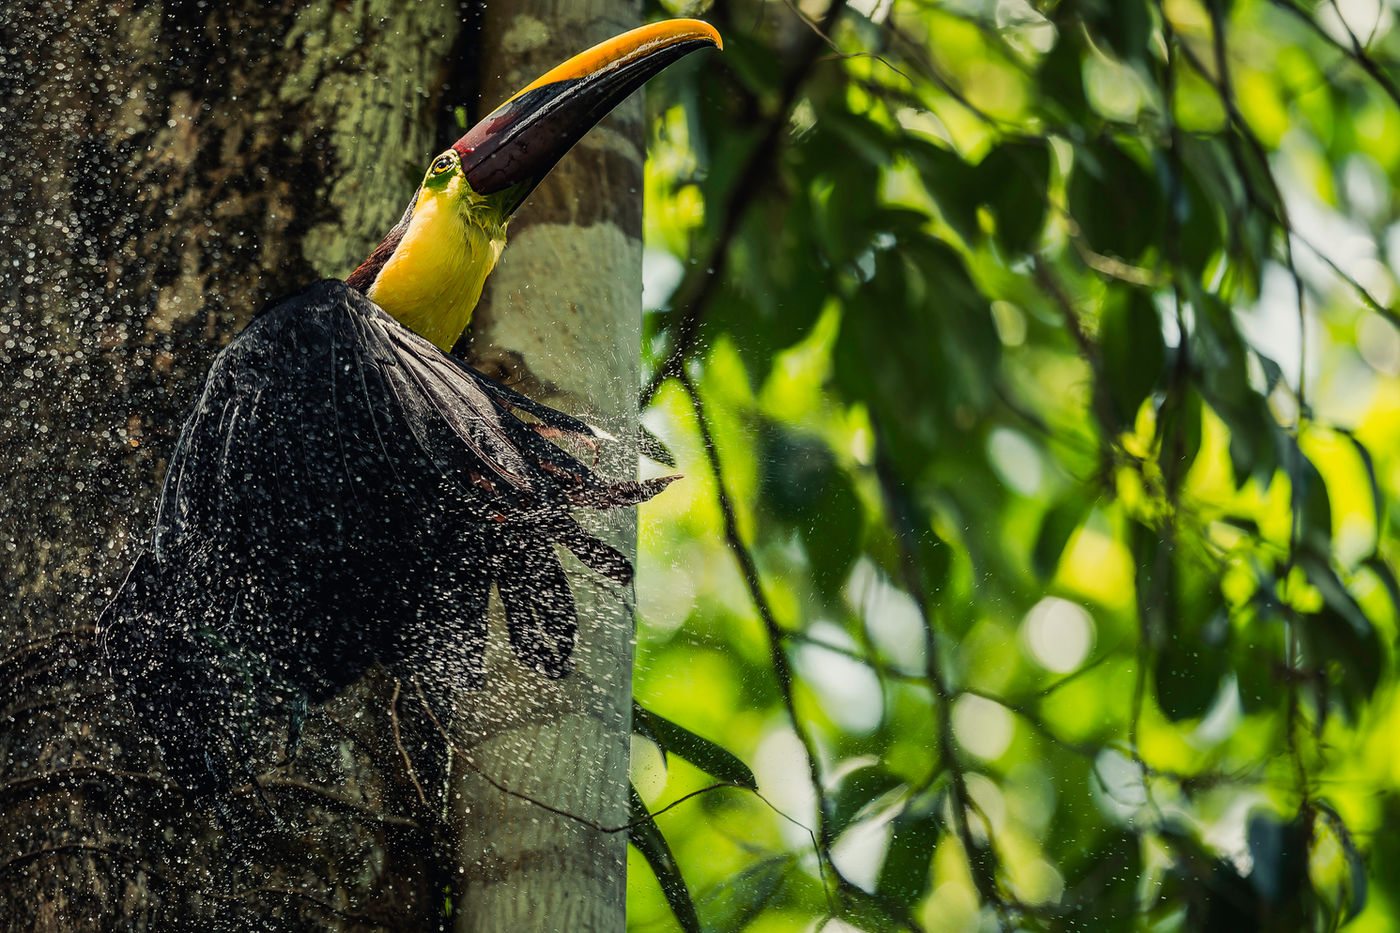
A powerful habit is to follow the light, not just the animals. Wildlife rarely stands where you want it, but it often moves. Wait for a monkey, macaw, frog, or coati to enter a pocket of cinematic light. These brief windows, a shaft through the canopy, a glowing leaf edge, a soft coastal backlight, can turn a record shot into a memorable photograph.
Working with weather, humidity, and rainforest light
The Osa is humid, and that humidity affects everything. Lenses fog when you move between air-conditioned rooms, vehicles, and warm forest air.
Give your gear time to acclimatise before a session. If you leave a cool room at dawn, keep your camera in the bag for a while so it warms gradually. Wipe lenses gently and often. Do not over-clean with pressure, especially when grit or salt may be present.
Fresh rain is useful for amphibians, insects, and forest detail. Keep a rain cover or weather-resistant bag ready, and use the forest structure as partial shelter when possible.
Light changes quickly after rain. Watch for steam, glowing leaves, and reflections on wet bark.
Essential gear checklist for the Osa Peninsula
-
Telephoto lens, 400 to 600mm
-
Comfortable hiking shoes
-
Quick-dry clothing
-
Camera wipes
-
Insect repellent
-
Hat
-
Sunscreen
-
Weather-resistant bag
-
Extra memory cards
-
Silica gel for humidity
Common mistakes to avoid
These are the mistakes that cost the most images:
-
Chasing every sound instead of choosing a strong position
-
Looking only through the viewfinder and missing better light nearby
-
Forgetting exposure compensation when the background changes
-
Using wide focus for a still portrait through branches.
The fix is simple, but not always easy. Slow down. Read the scene. Set the camera for the most likely moment. Then wait with intent.
Master the Osa by learning in the field
The Osa Peninsula is one of the finest classrooms a wildlife photographer can enter. It teaches timing, humility, fieldcraft, and technical control in the same hour. Cecropia leaves can point you towards monkeys. A clicking call can lead you to a frog after rain. Beach almond trees can explain why macaws gather along the coast. A small pocket of light can transform the whole frame.
The best images come when these clues connect. Behaviour, light, focus, exposure, and patience all work together.
If you want to build those skills in the rainforest rather than just read about them, join Charlie’s 2027 Costa Rica Wildlife Photography Workshops and master these techniques in person on the Osa Peninsula.